Author Archives: mike

Black water tank is here!

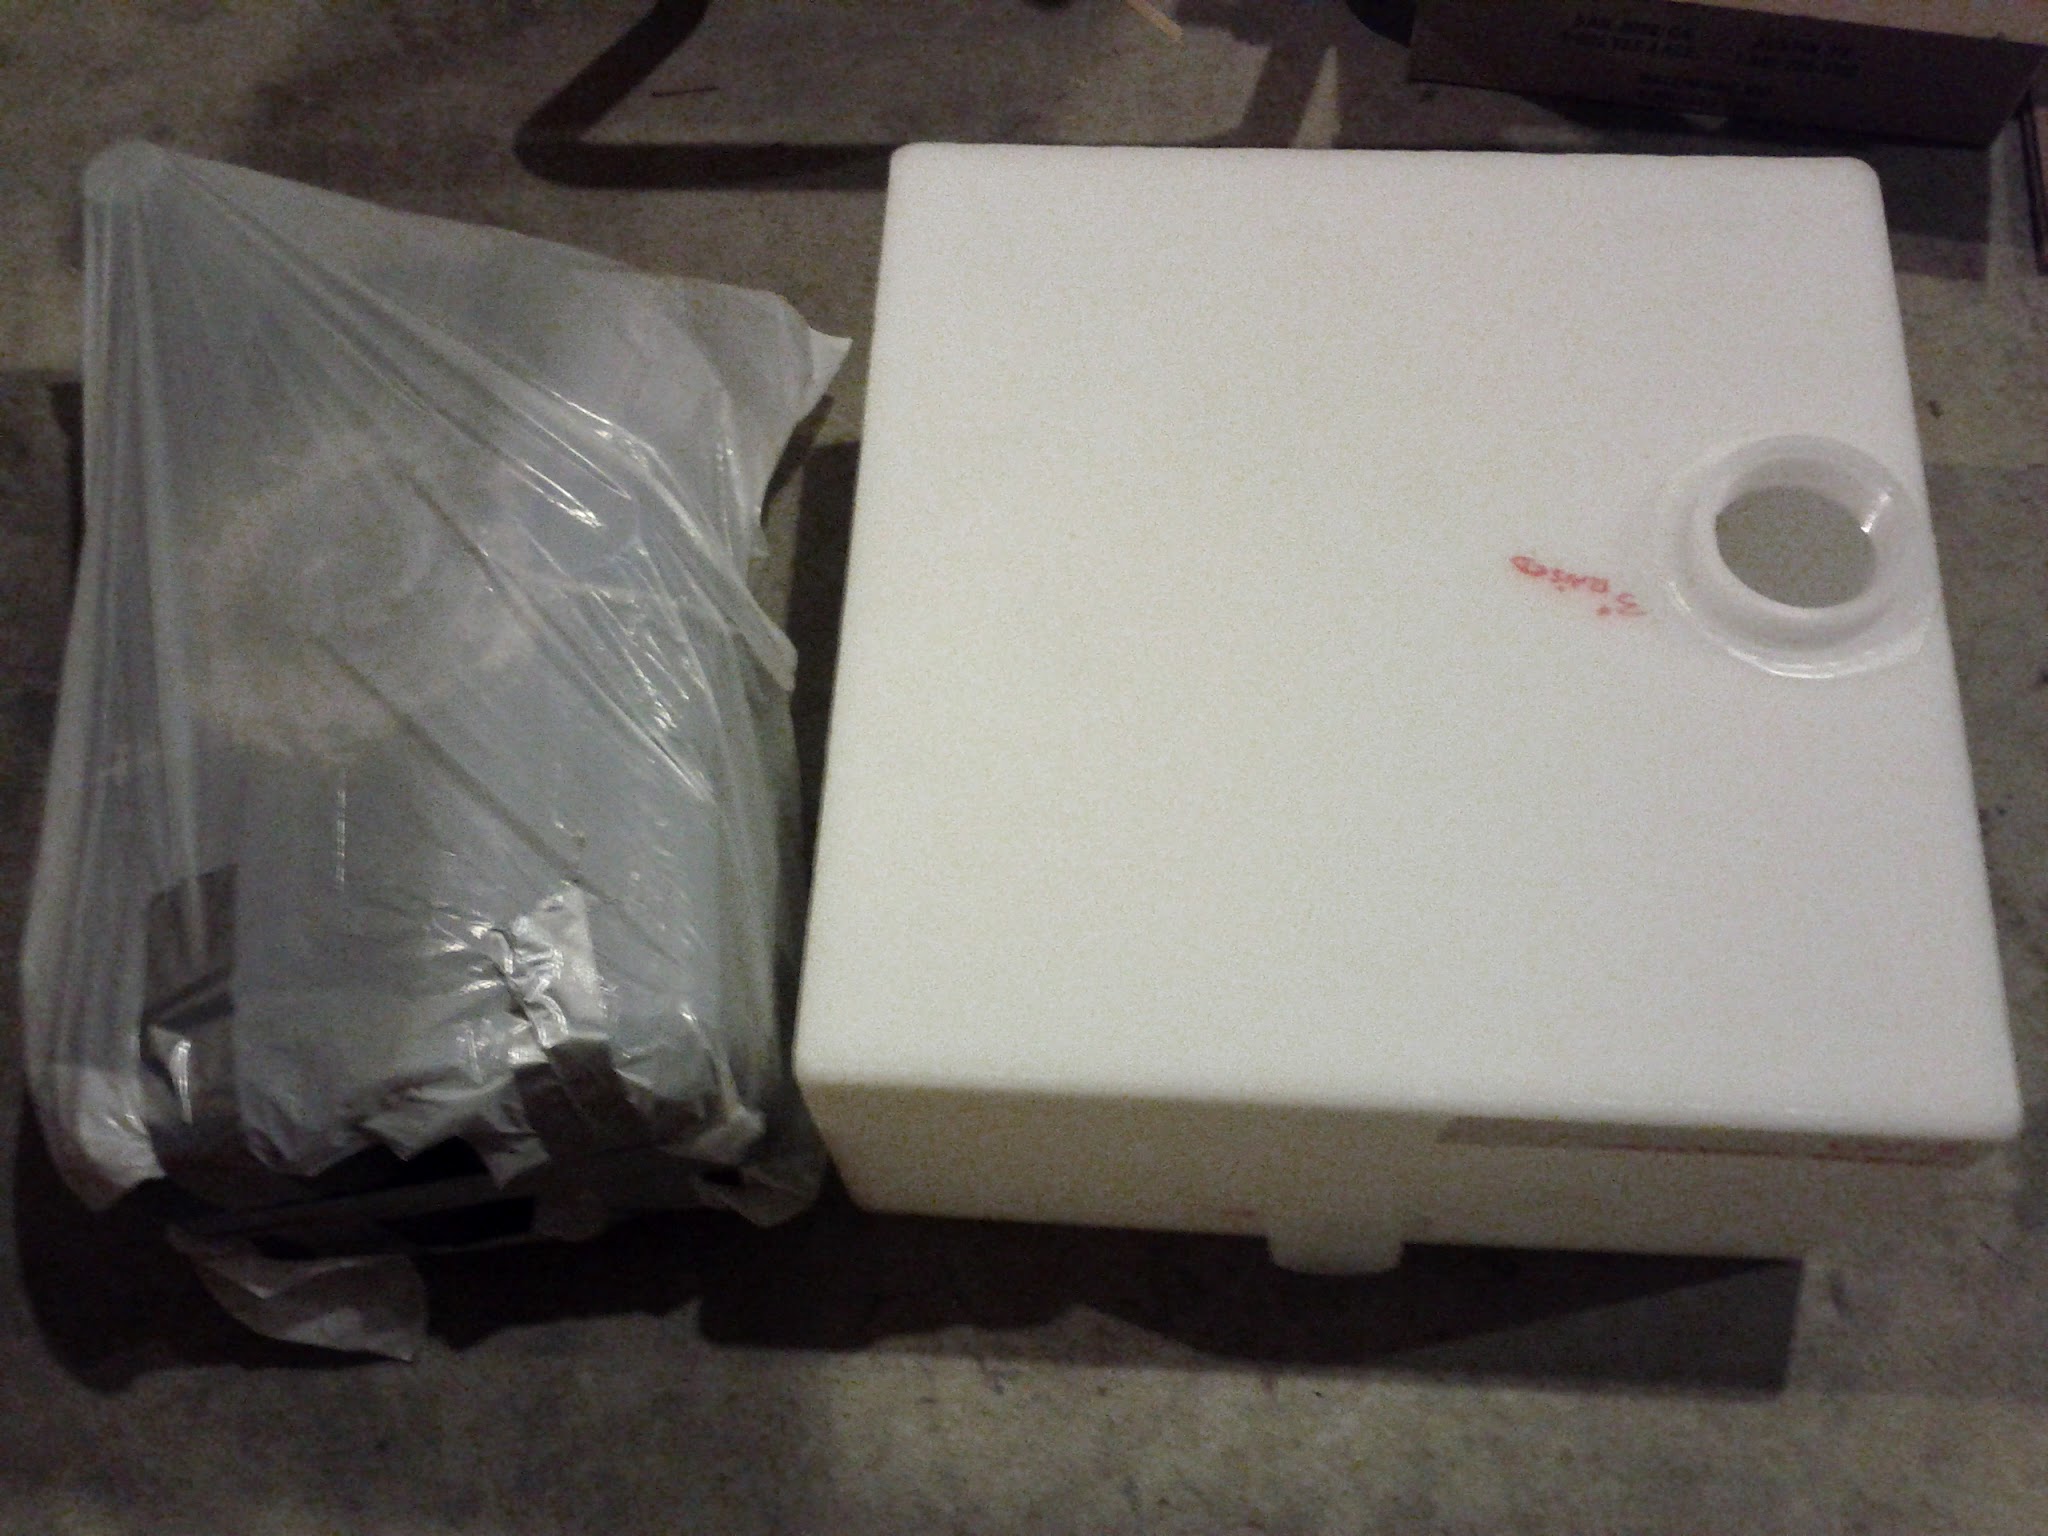
My new black water tank has arrived. It’s a 20 gallon tank, where the original was 9.6 – a big improvement! We should be able to stay put in one place for 3-4 days easily, whereas before we’d have to leave and empty our tanks every third day. And considering that emptying the tanks was a messy, leaky procedure, I’m pretty happy to have this replacement system coming together.

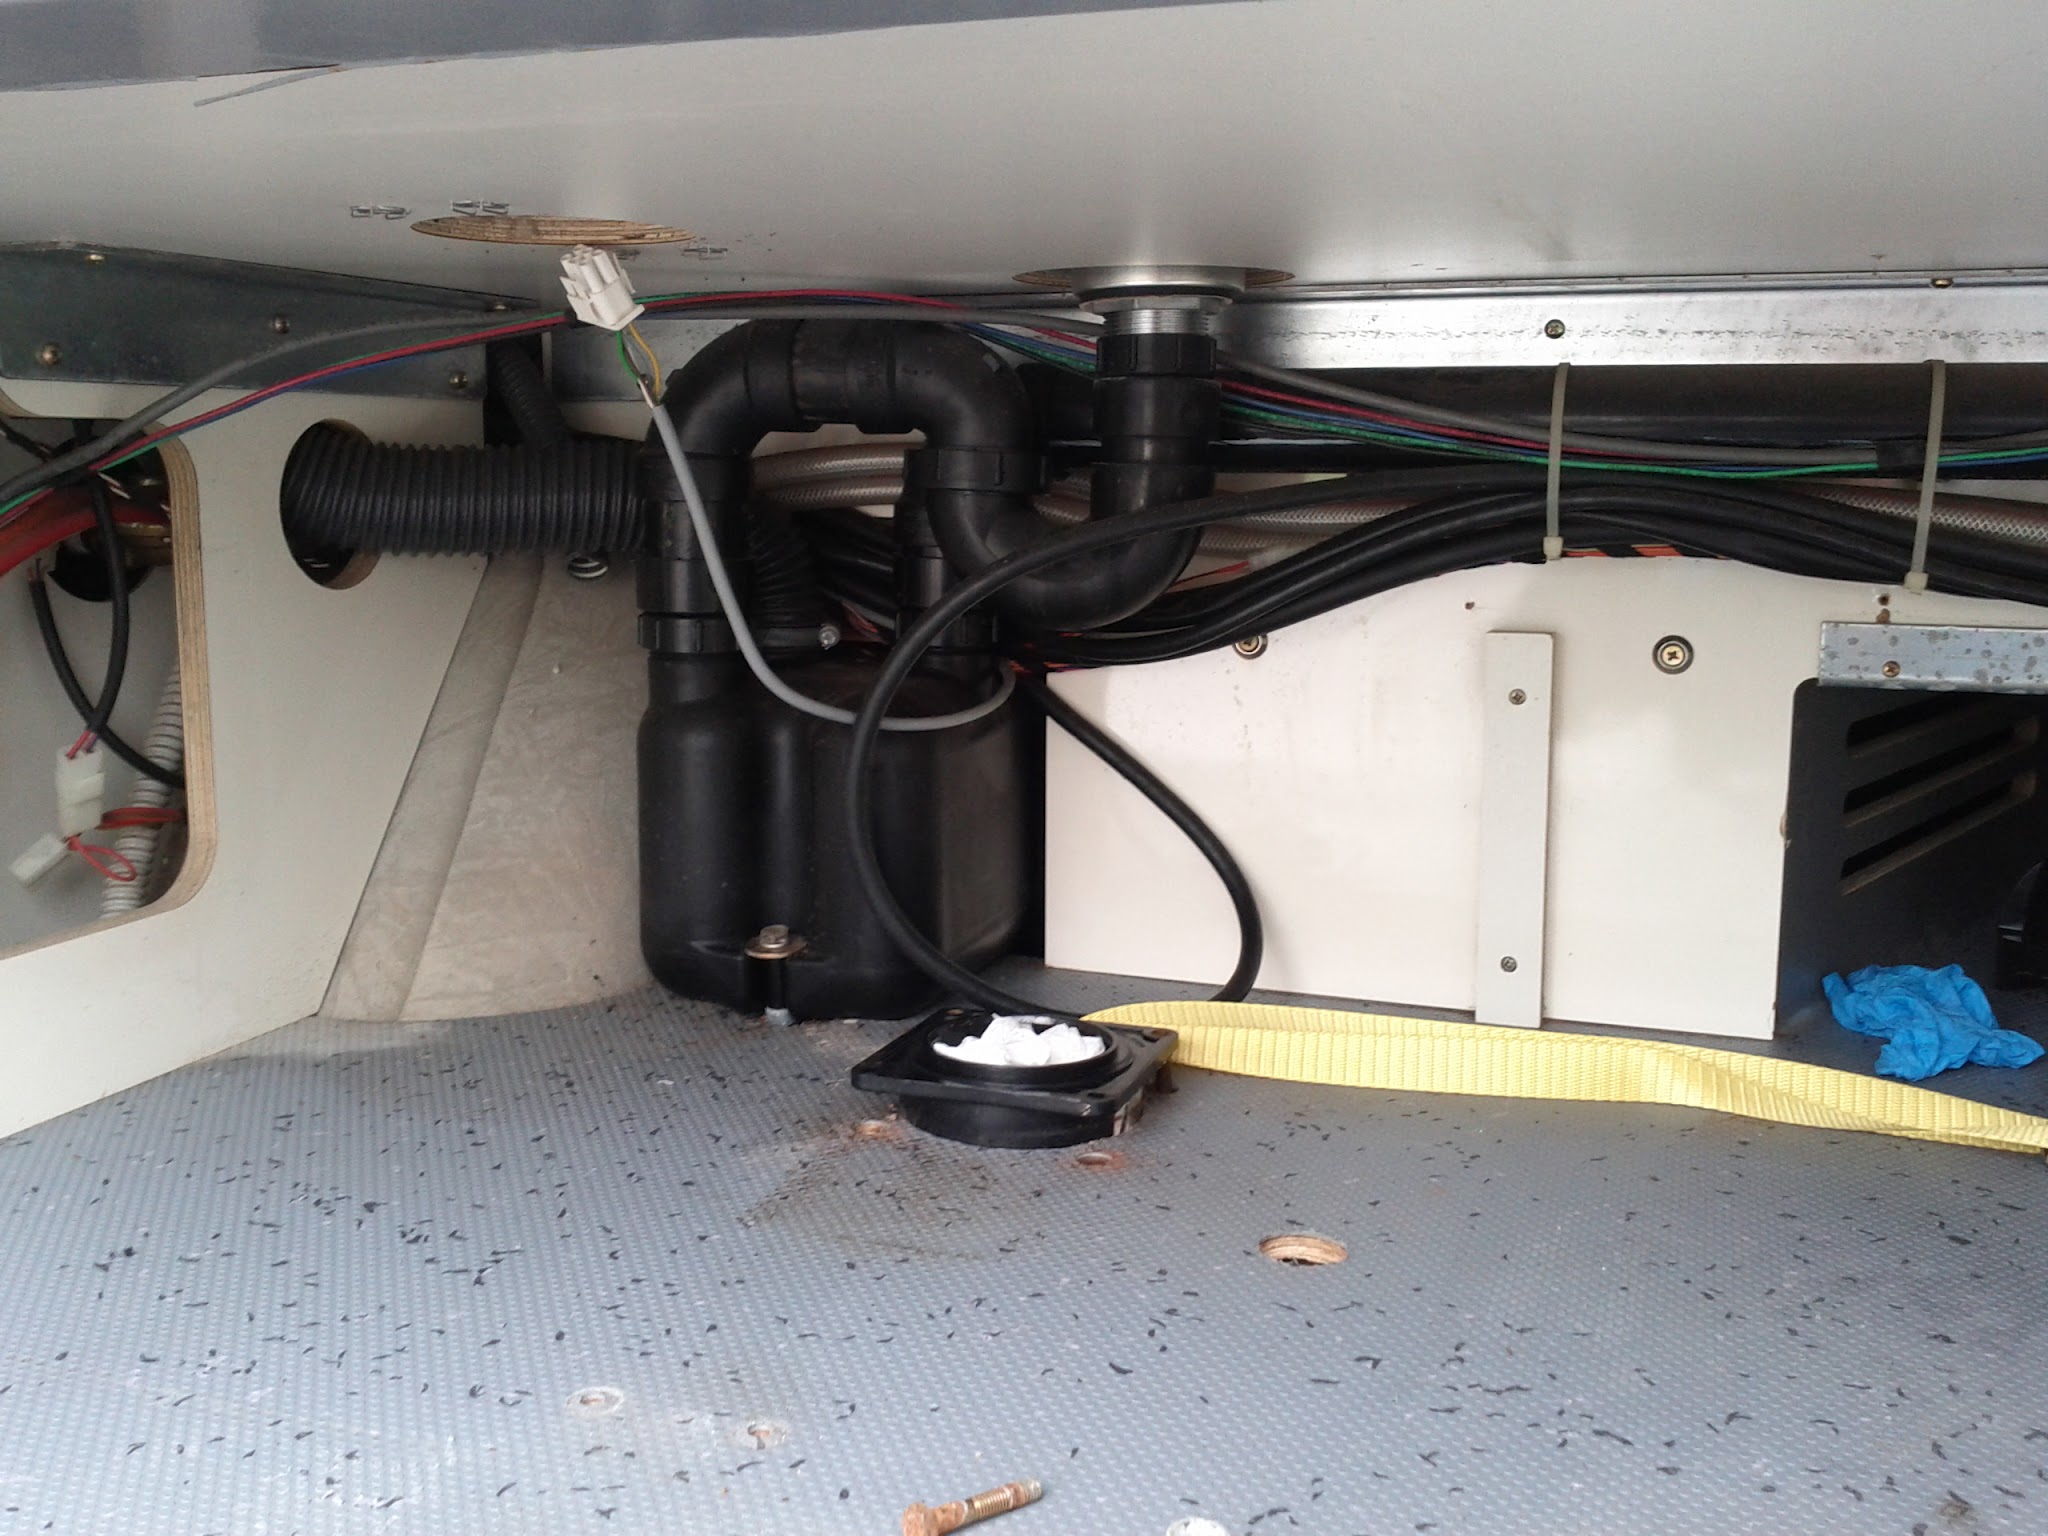
The picture below shows the original tank compared to the new one:

Everything looks like it’ll line up nicely. The raised connection on the bottom of the tank (shown on the top in the picture above) doesn’t quite fit inside the hole going through the floor, so I’ll have to enlarge that hole with the jigsaw tomorrow.

Posted in photos | Leave a comment

Testing continuity across large distances

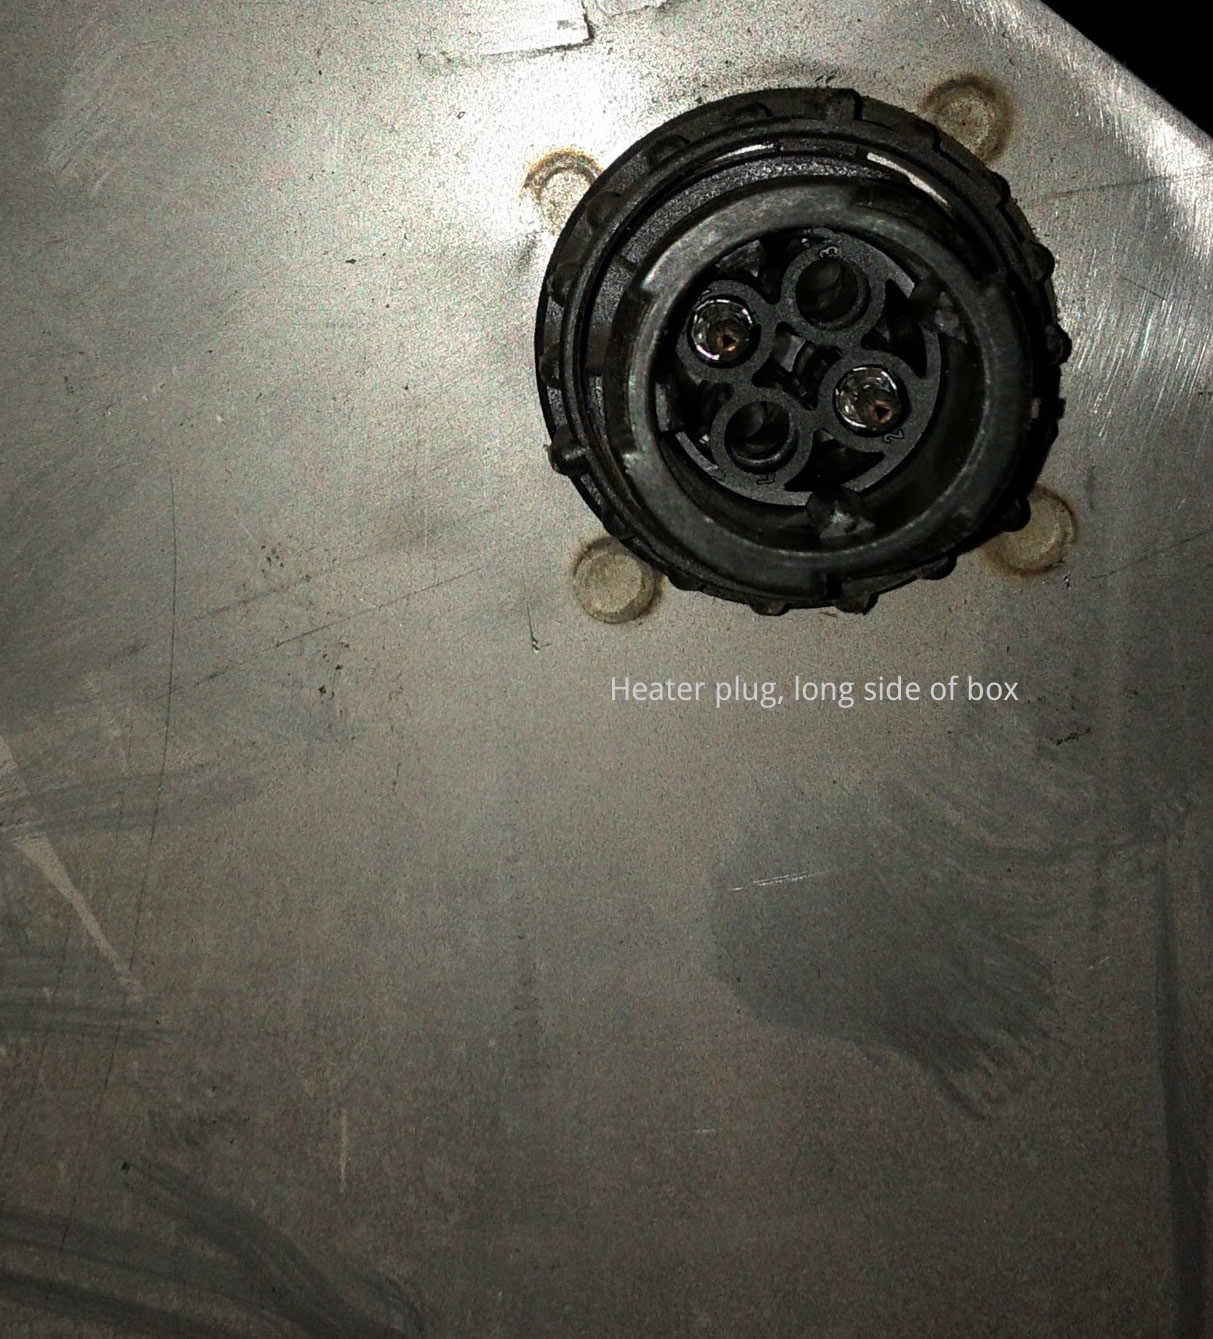
My heater is giving me problems, and I want to confirm that the wiring between the control panel in the cab and the heater is good. I couldn’t figure out how to do this, because my multimeter’s leads are a few feet long at best. Here’s what a quick Googlin’ turned up:

This is easy to do without the need for extra jumpers if you can isolate both ends of the wire you want to test. You can either do it by voltmeter or testlight, or ohmmeter:

Just clip your testlight or voltmeter to a power source on one end (alternator positive pole is always hot in the engine bay), the other lead to the wire you want to test. If the wire is isolated from ground, you would see no voltage or the testlight will not light up. Then go to the other end of the wire and ground it, your testlight will glow, or your voltmeter show voltage.

Or use the ohmmeter, connect the leads between any grounded point and one end of the wire you want to test, there should be infinite ohms, then ground the opposite end and you will see a circuit. This method is easiest because you don’t need to find a positive power point. Best of all is if your VOM has a continuity buzzer you can put it in ring mode and test this way without the need to see the meter.

Thanks to user tencentlife on thesamba.com (thread is here).

Posted in how-to | Leave a comment

Fitting locations for black water tank

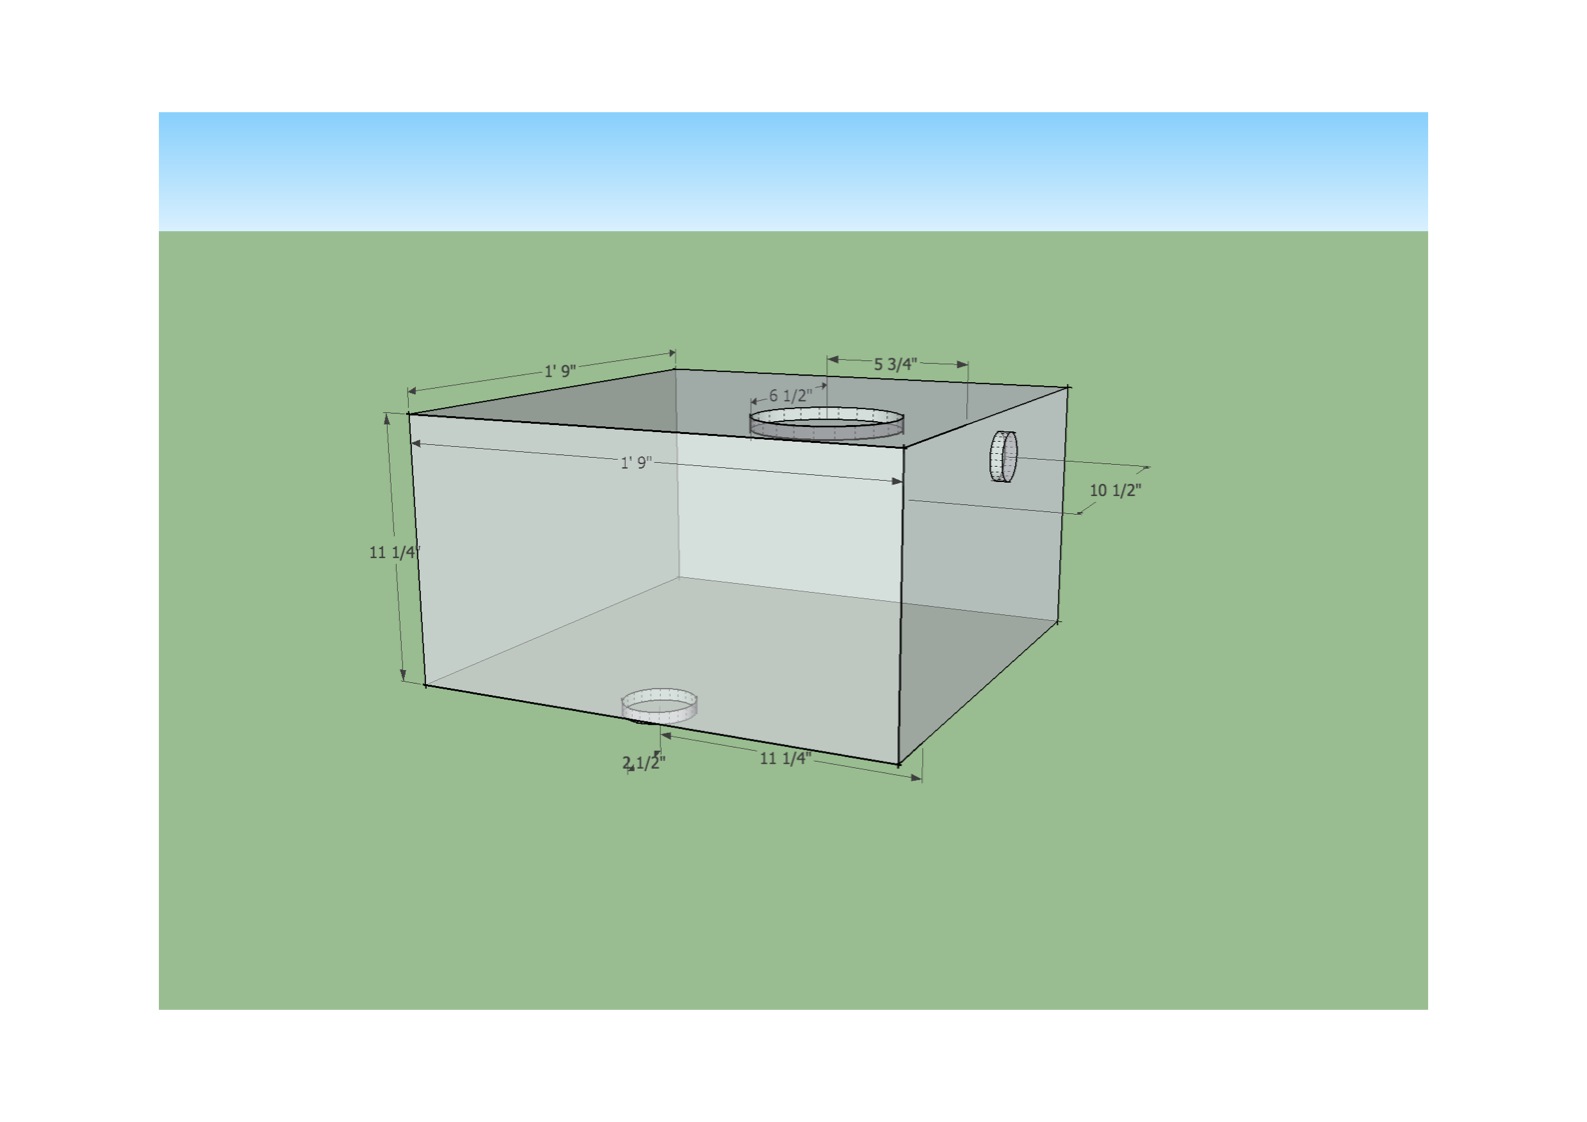
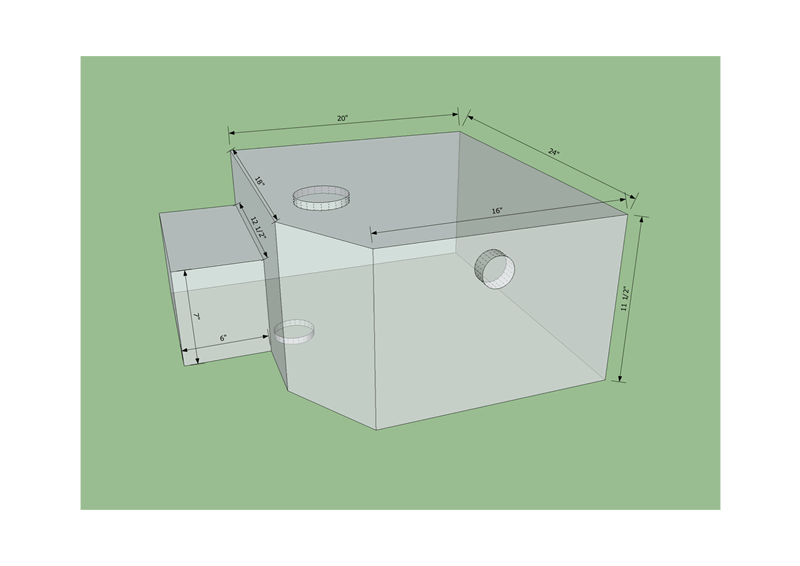
If my measurements are correct, then the following diagram shows the location of all fittings required for a replacement black water tank:

The top and bottom fittings are 3″ pipe thread; the top is a flush mount, and the bottom protrudes so that it’s flush on the inside of the tank. The side fitting is 2″ pipe thread and will be placed as close to the top of the tank as possible (which is why there’s no measurement for that direction on the diagram).

I’ve ordered the tank from Marine Sanitation in Seattle, WA (marinesan.com). The tank should arrive in 2 weeks; you may wish to wait until I’ve confirmed the measurements before ordering your own! I’ll update this post with the results.

Posted in how-to, photos | Leave a comment

Black water tank size

I thought I’d order a custom-shaped black water tank for the Westy, considering the placement of the downpipe relative to the wheel well (the down pipe is forward of the wheel well). I sent my diagram off to six places, got 2 responses, both around $600 – much more than I had anticipated.

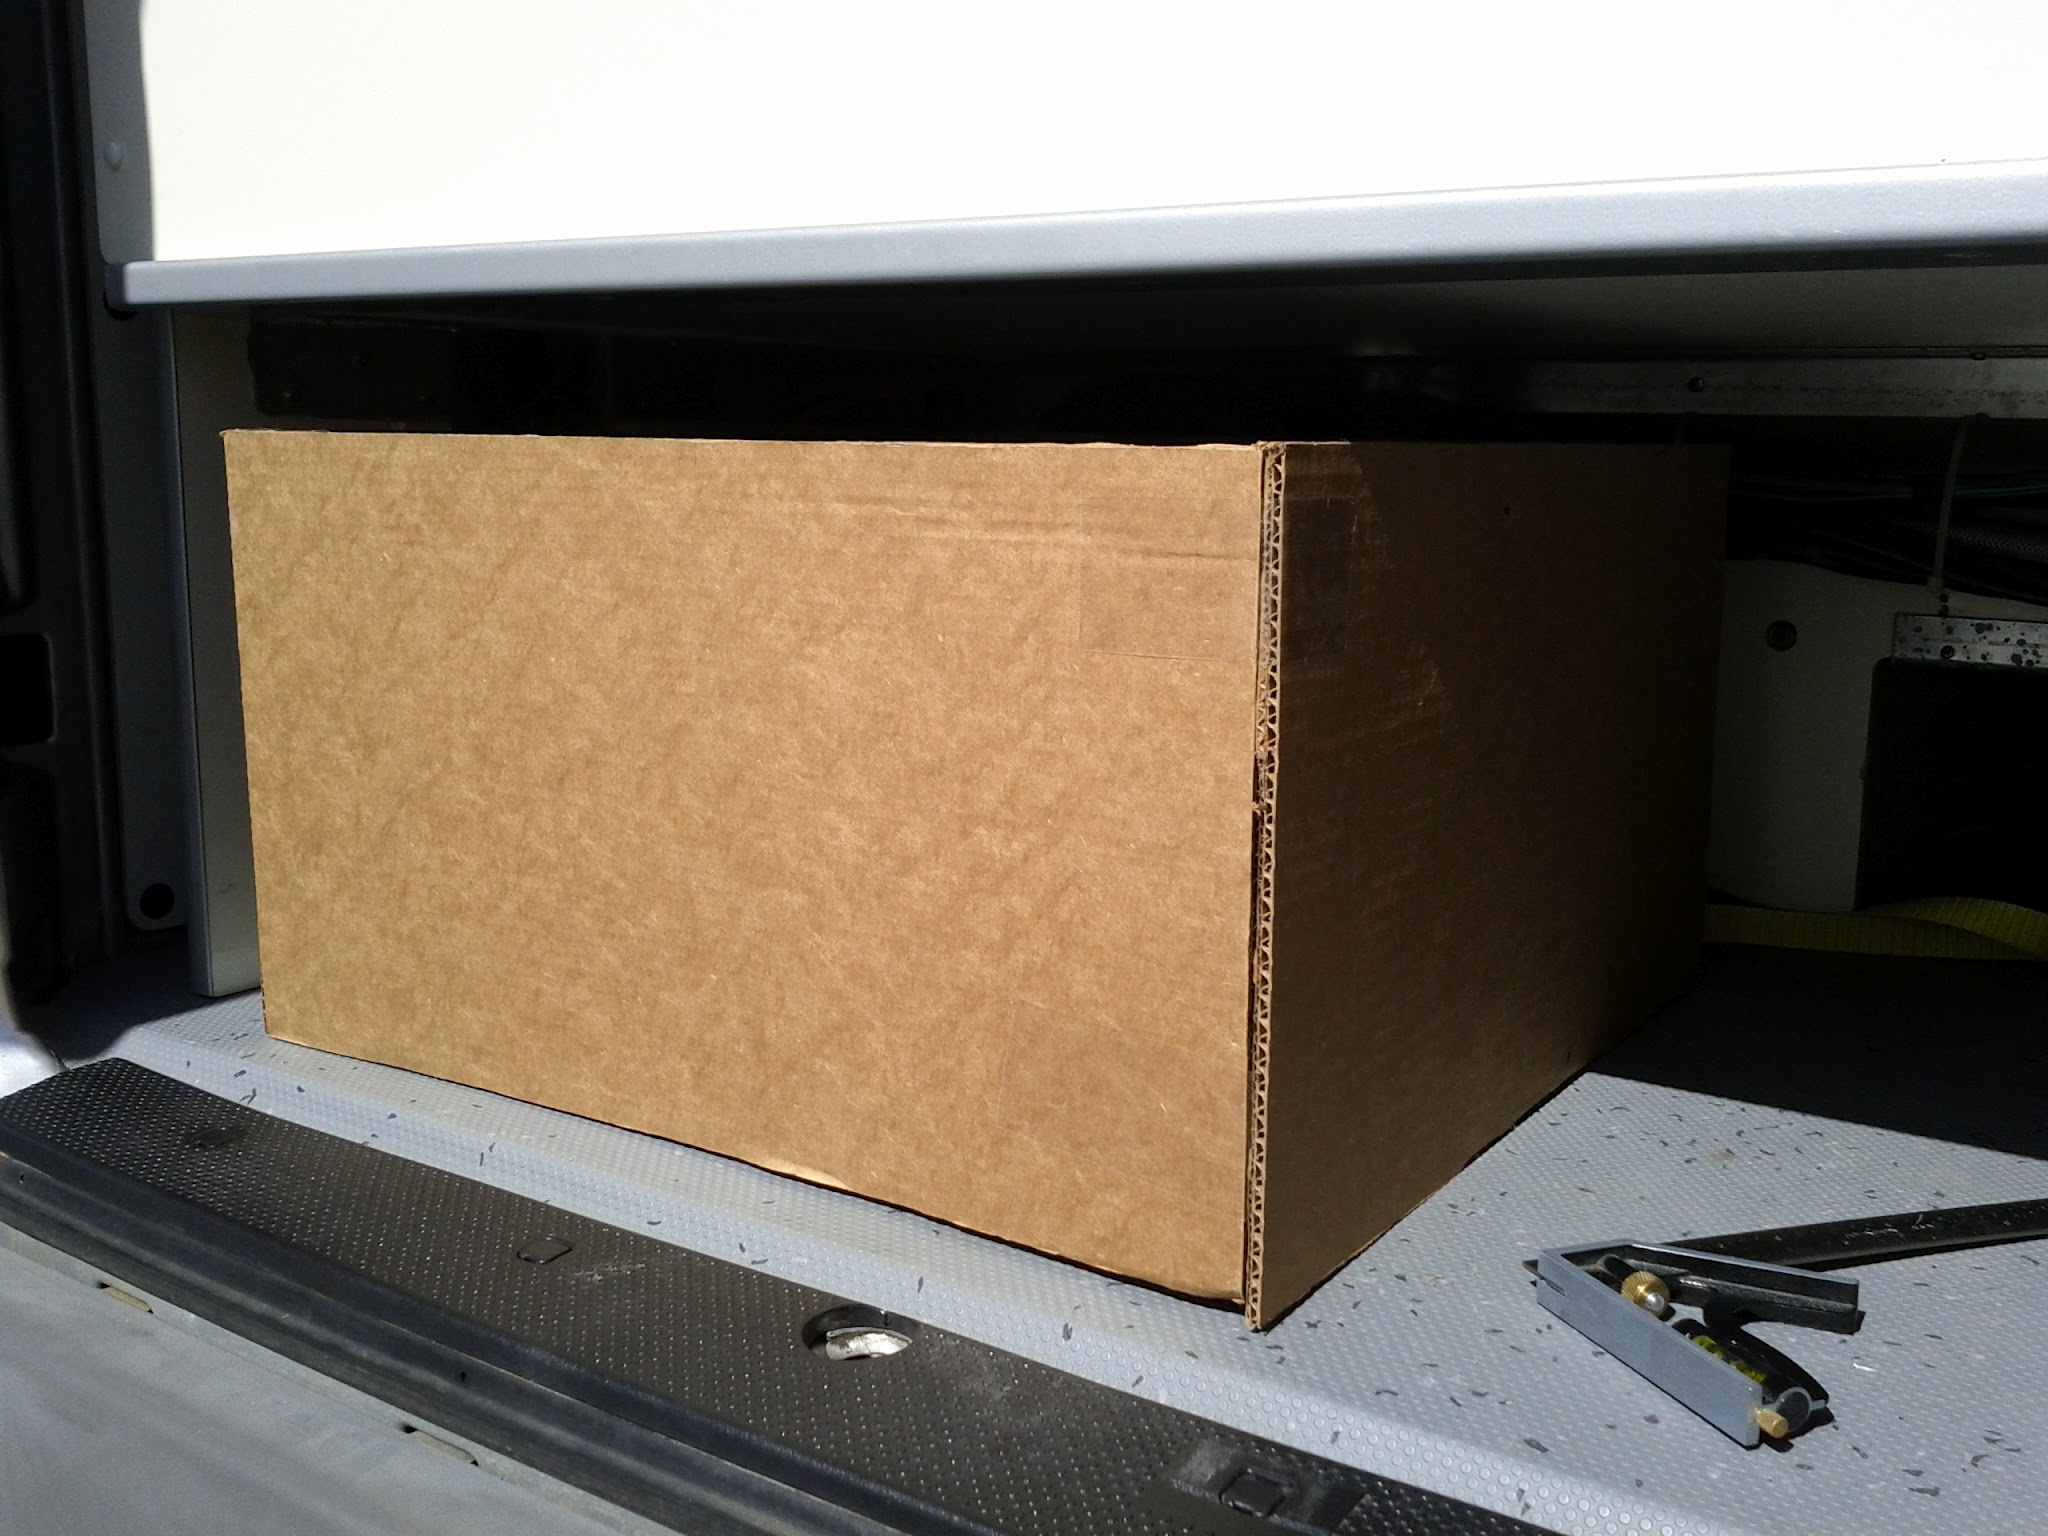
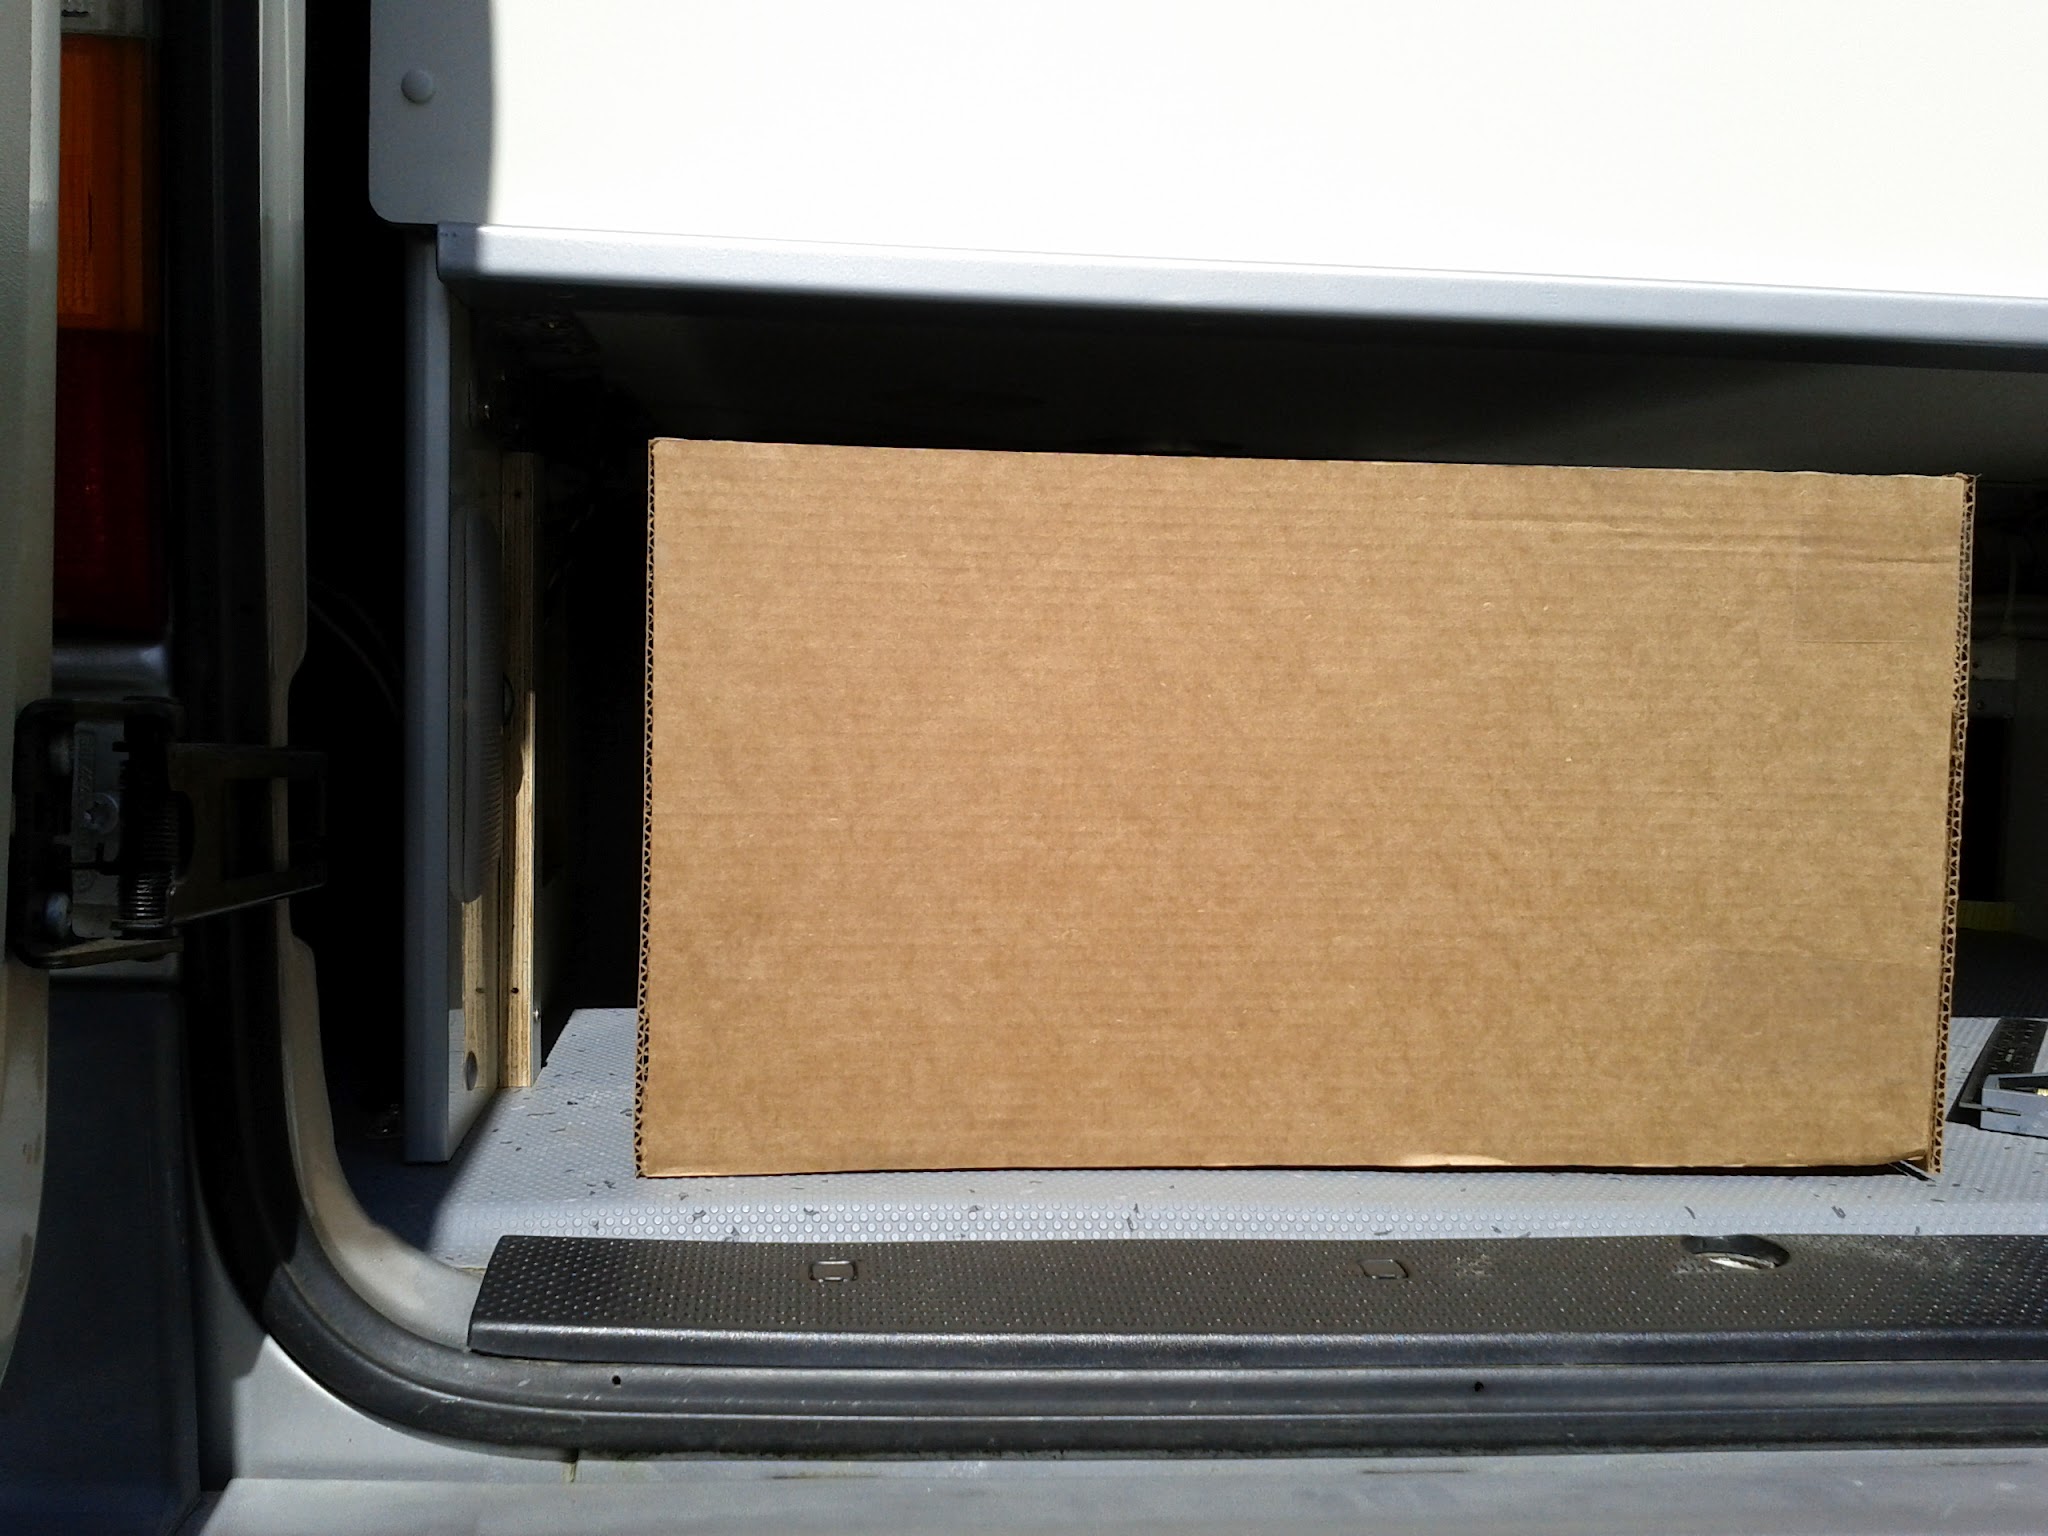
So back to the drawing board! A bit of playing around with some wooden boards made me realize that I could lose 3 inches to clear the wheel well, and still fit a big rectangular tank. My local supplier has a 21″ x 21″ x 11.25″ tank that can squeeze into the space – that’s 20 gallons!

I do lose some storage in the back. I used to keep dirty boots in the little alcove between the door and the old black water tank, but the new tank will come right to the threshold. But that’s not a bad tradeoff for the larger capacity.


(Cardboard mockup of a 20G black water tank.)


(Mockup of a 20G black water tank, showing the 3″ space to the left required to clear the wheel well.)

Posted in how-to, photos | Leave a comment

Black water system replacement

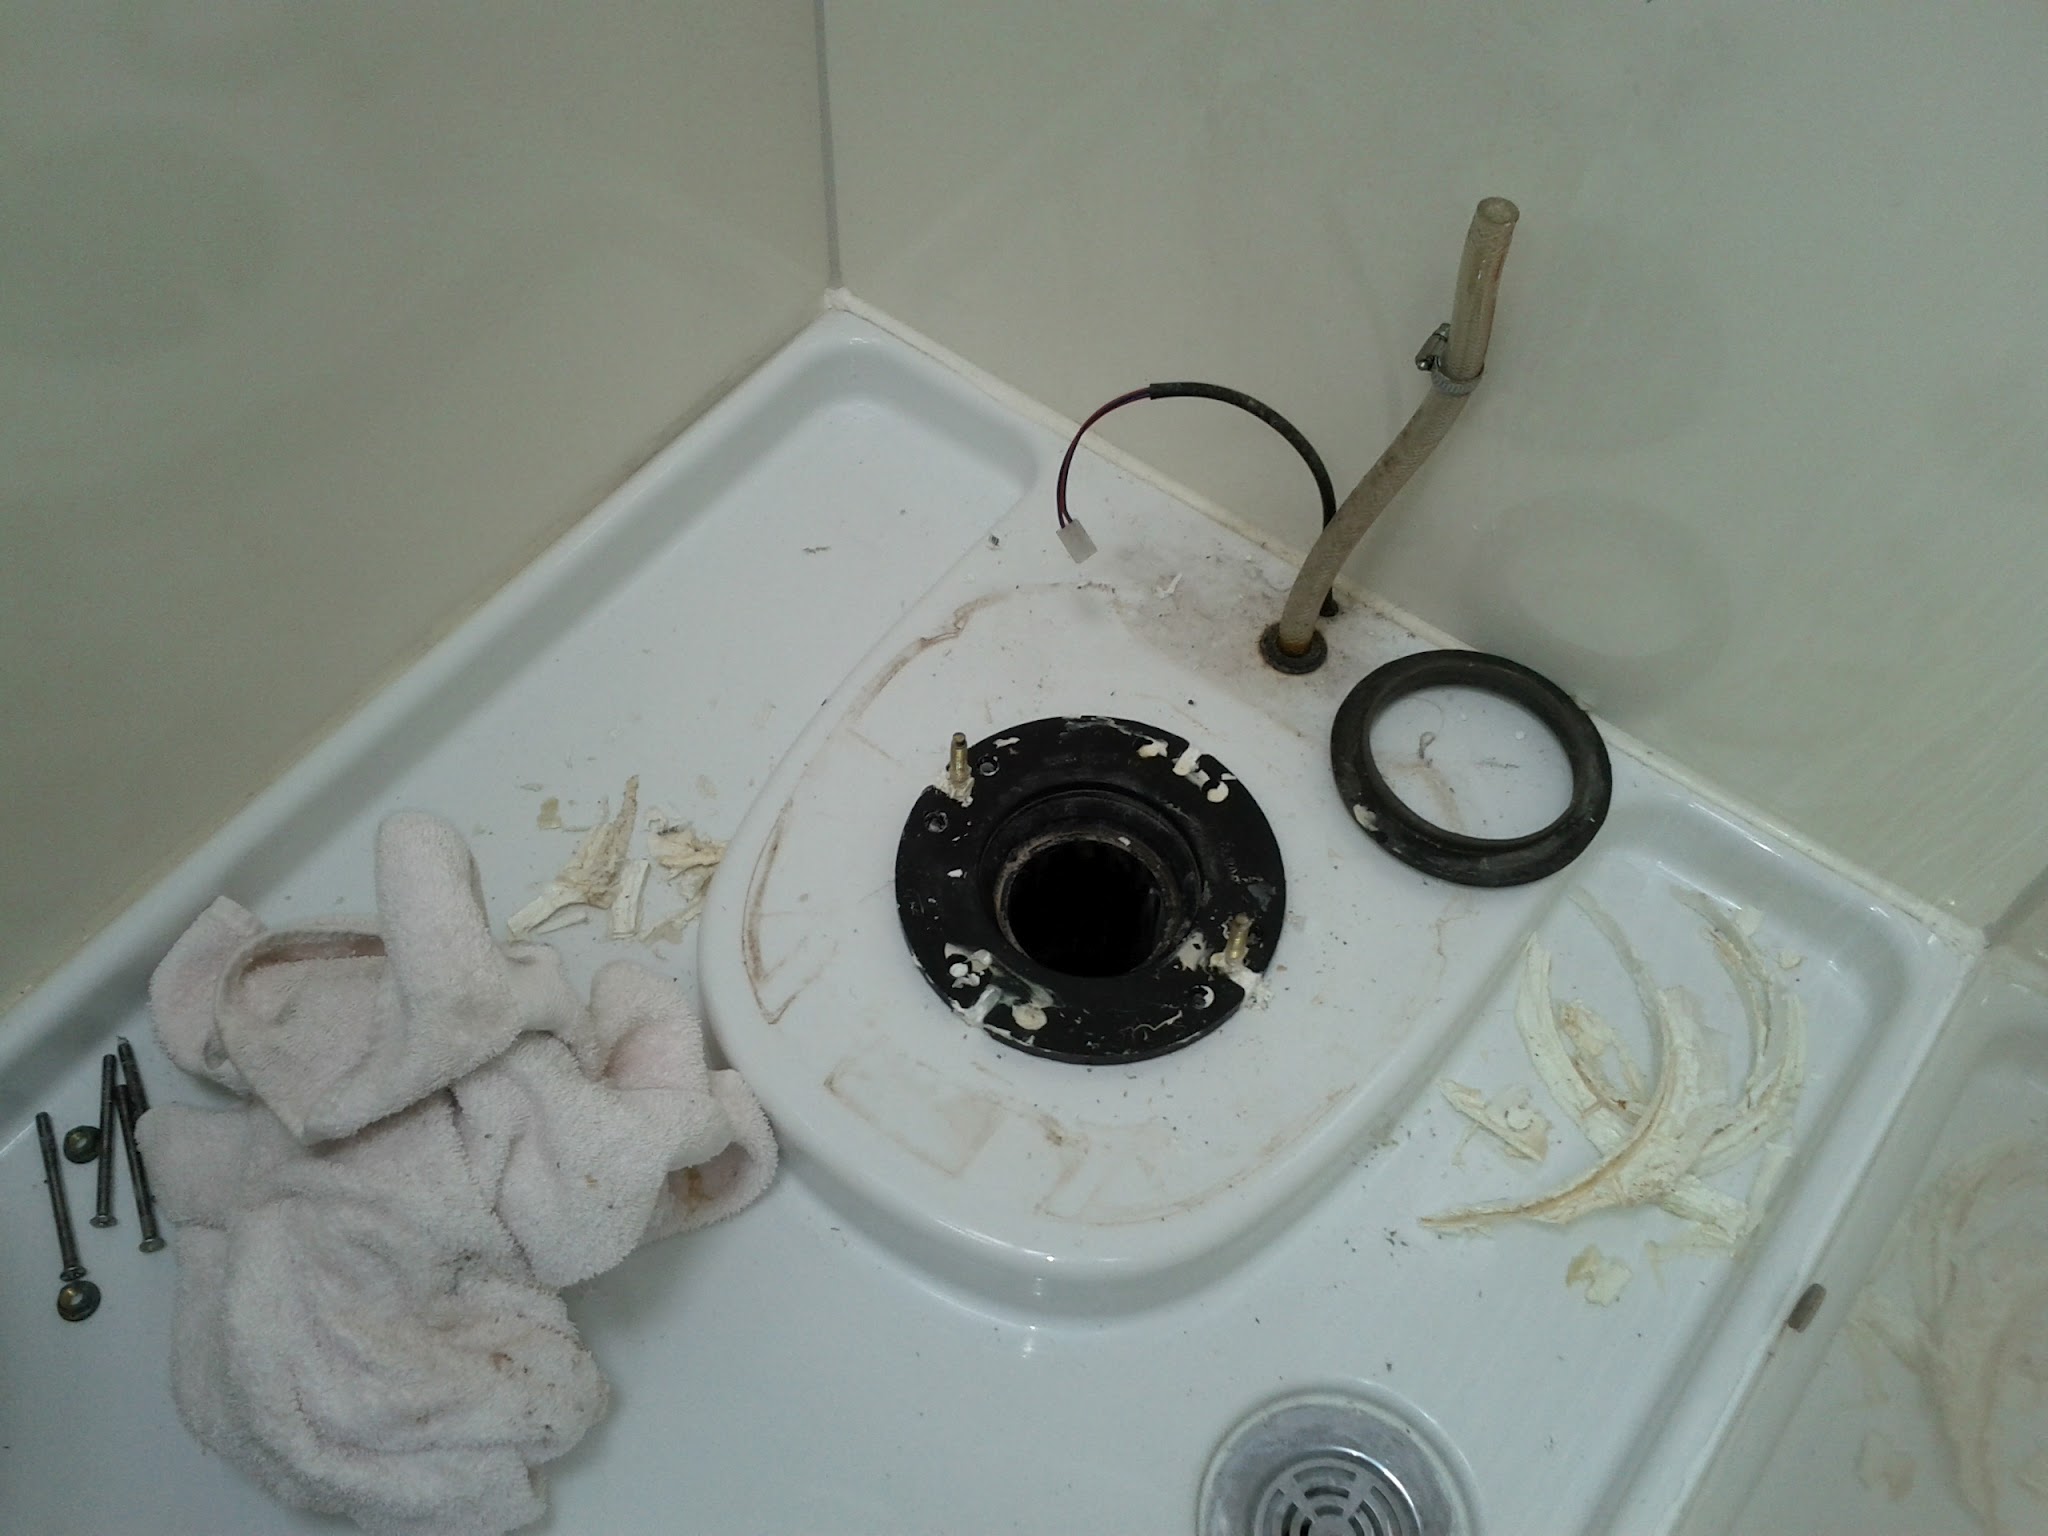
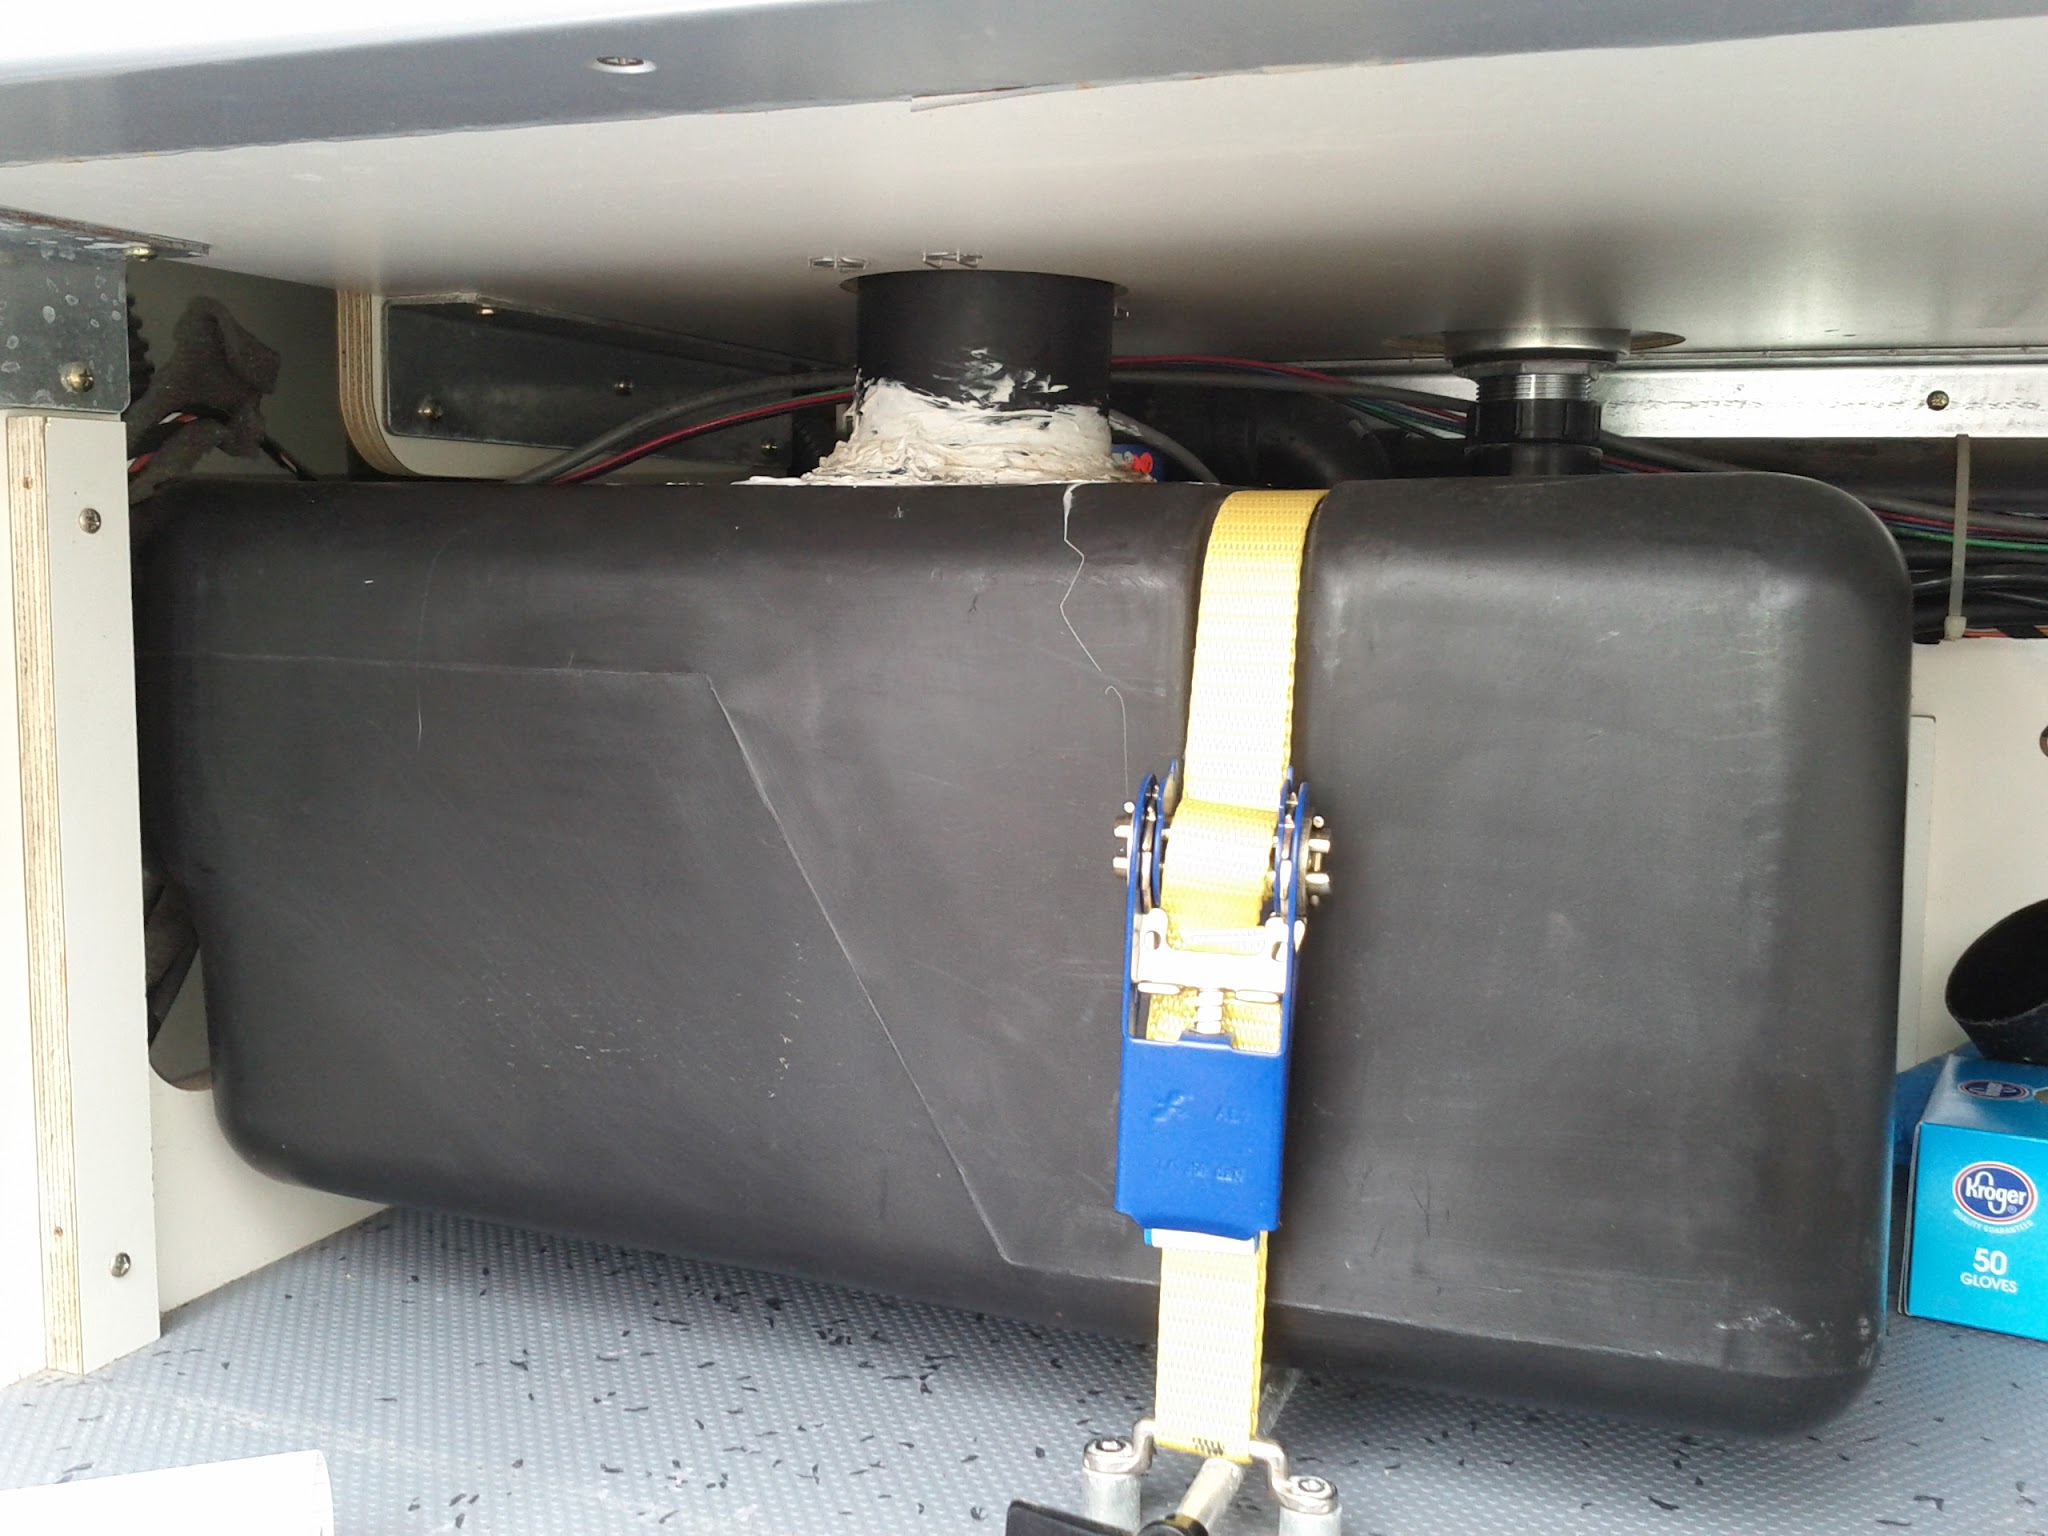
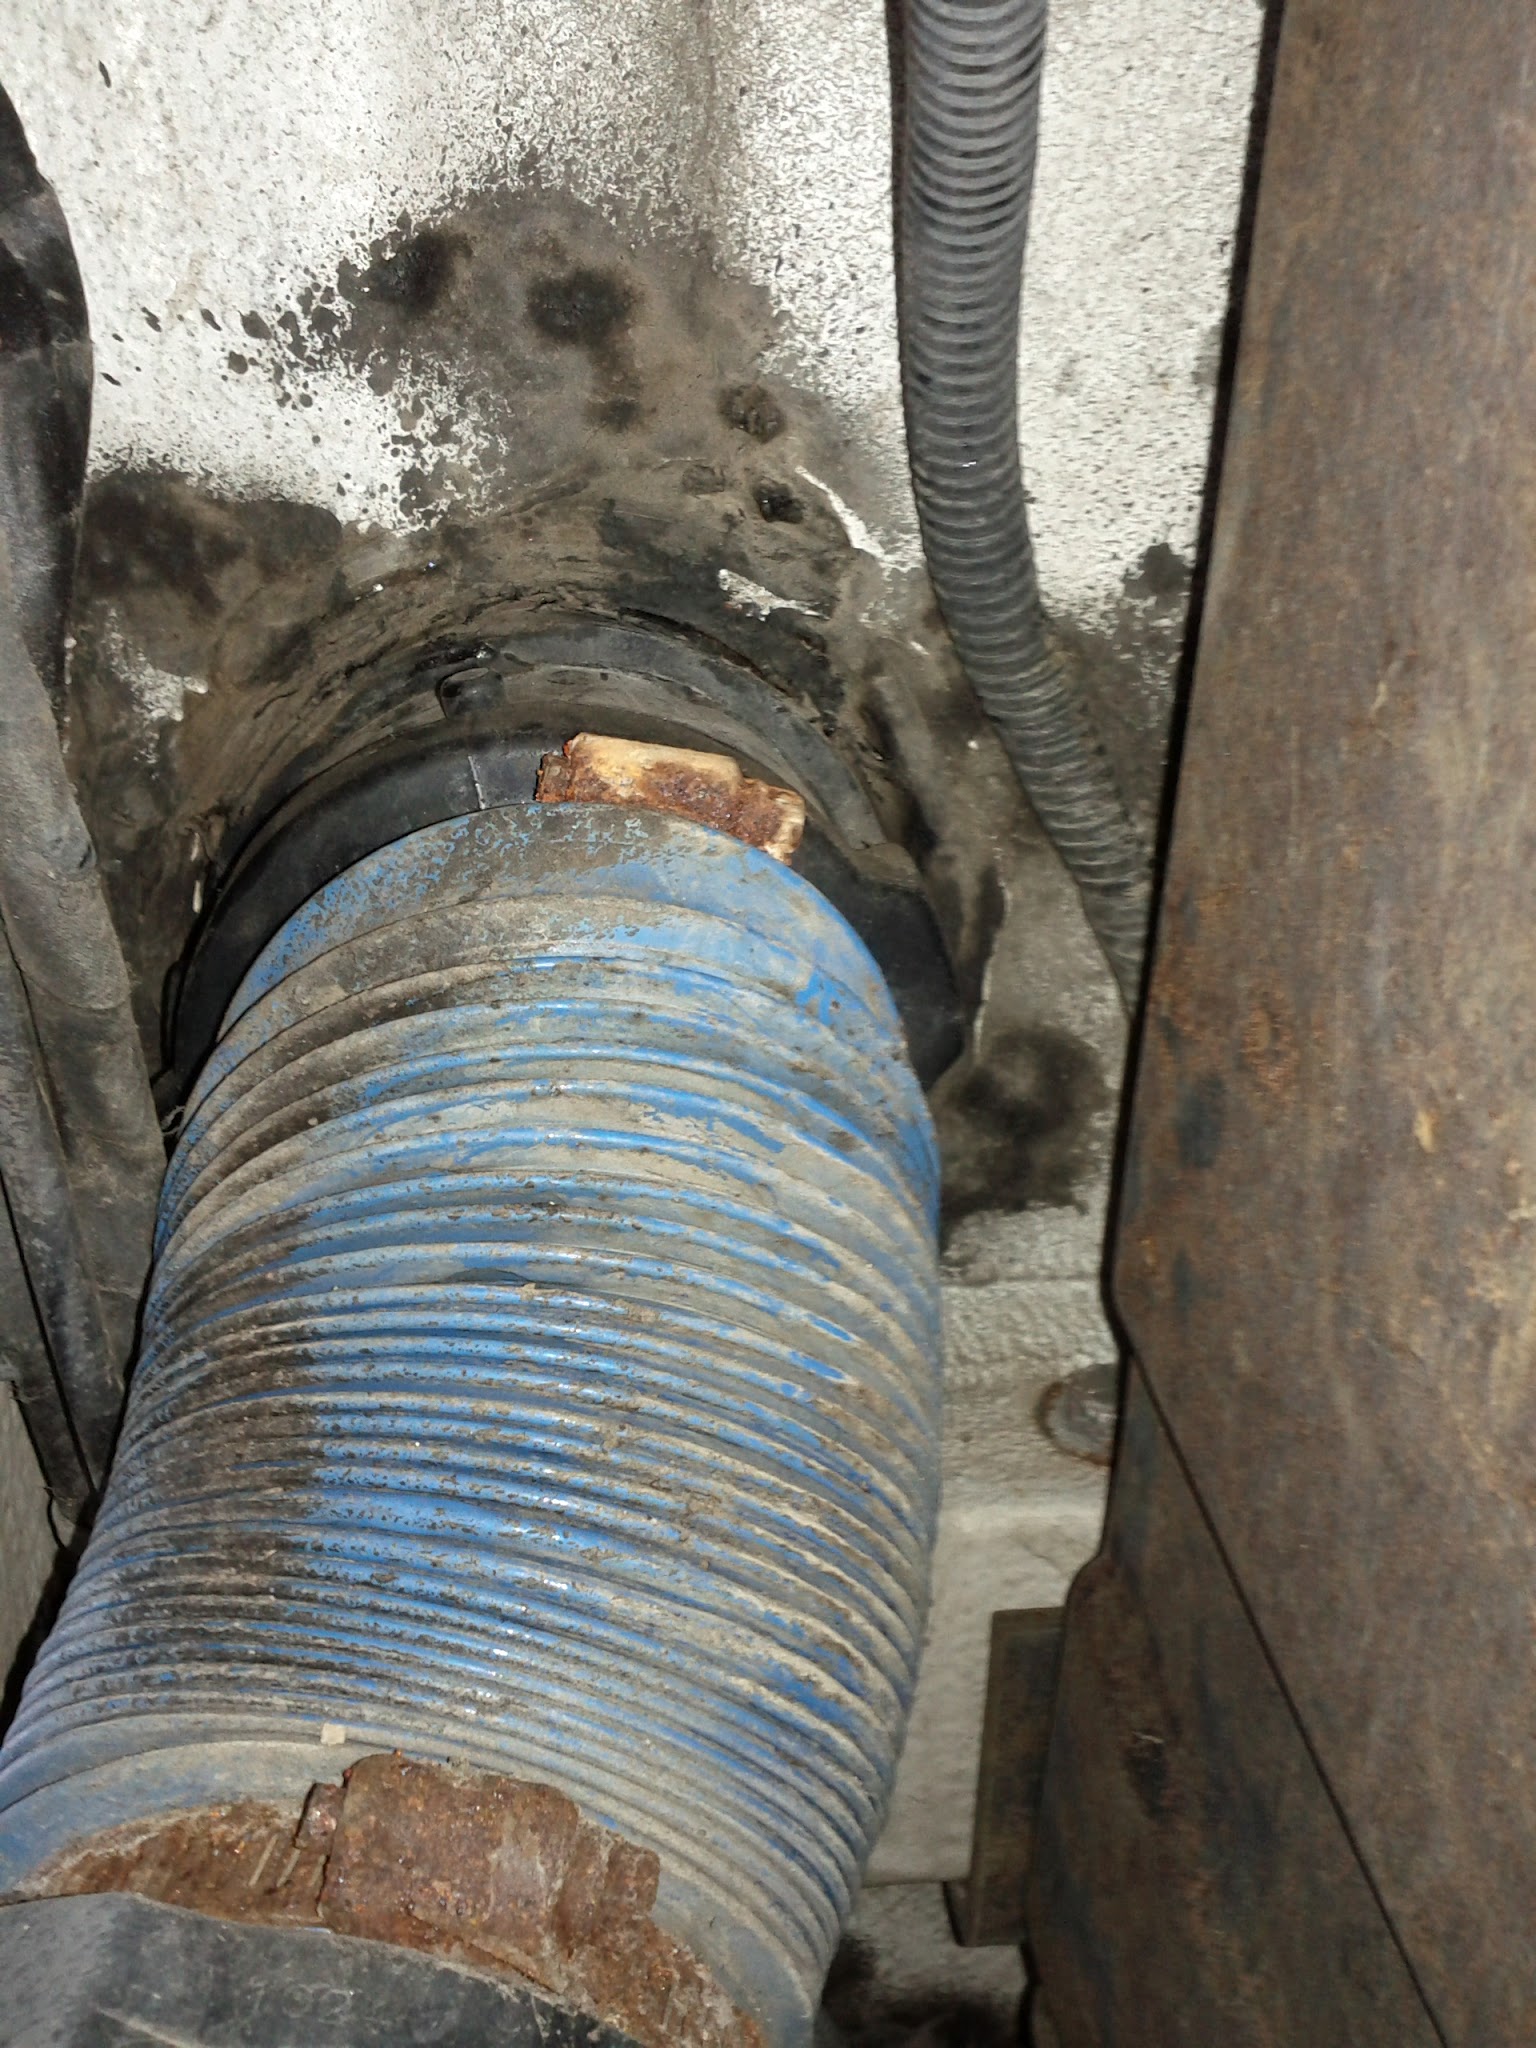
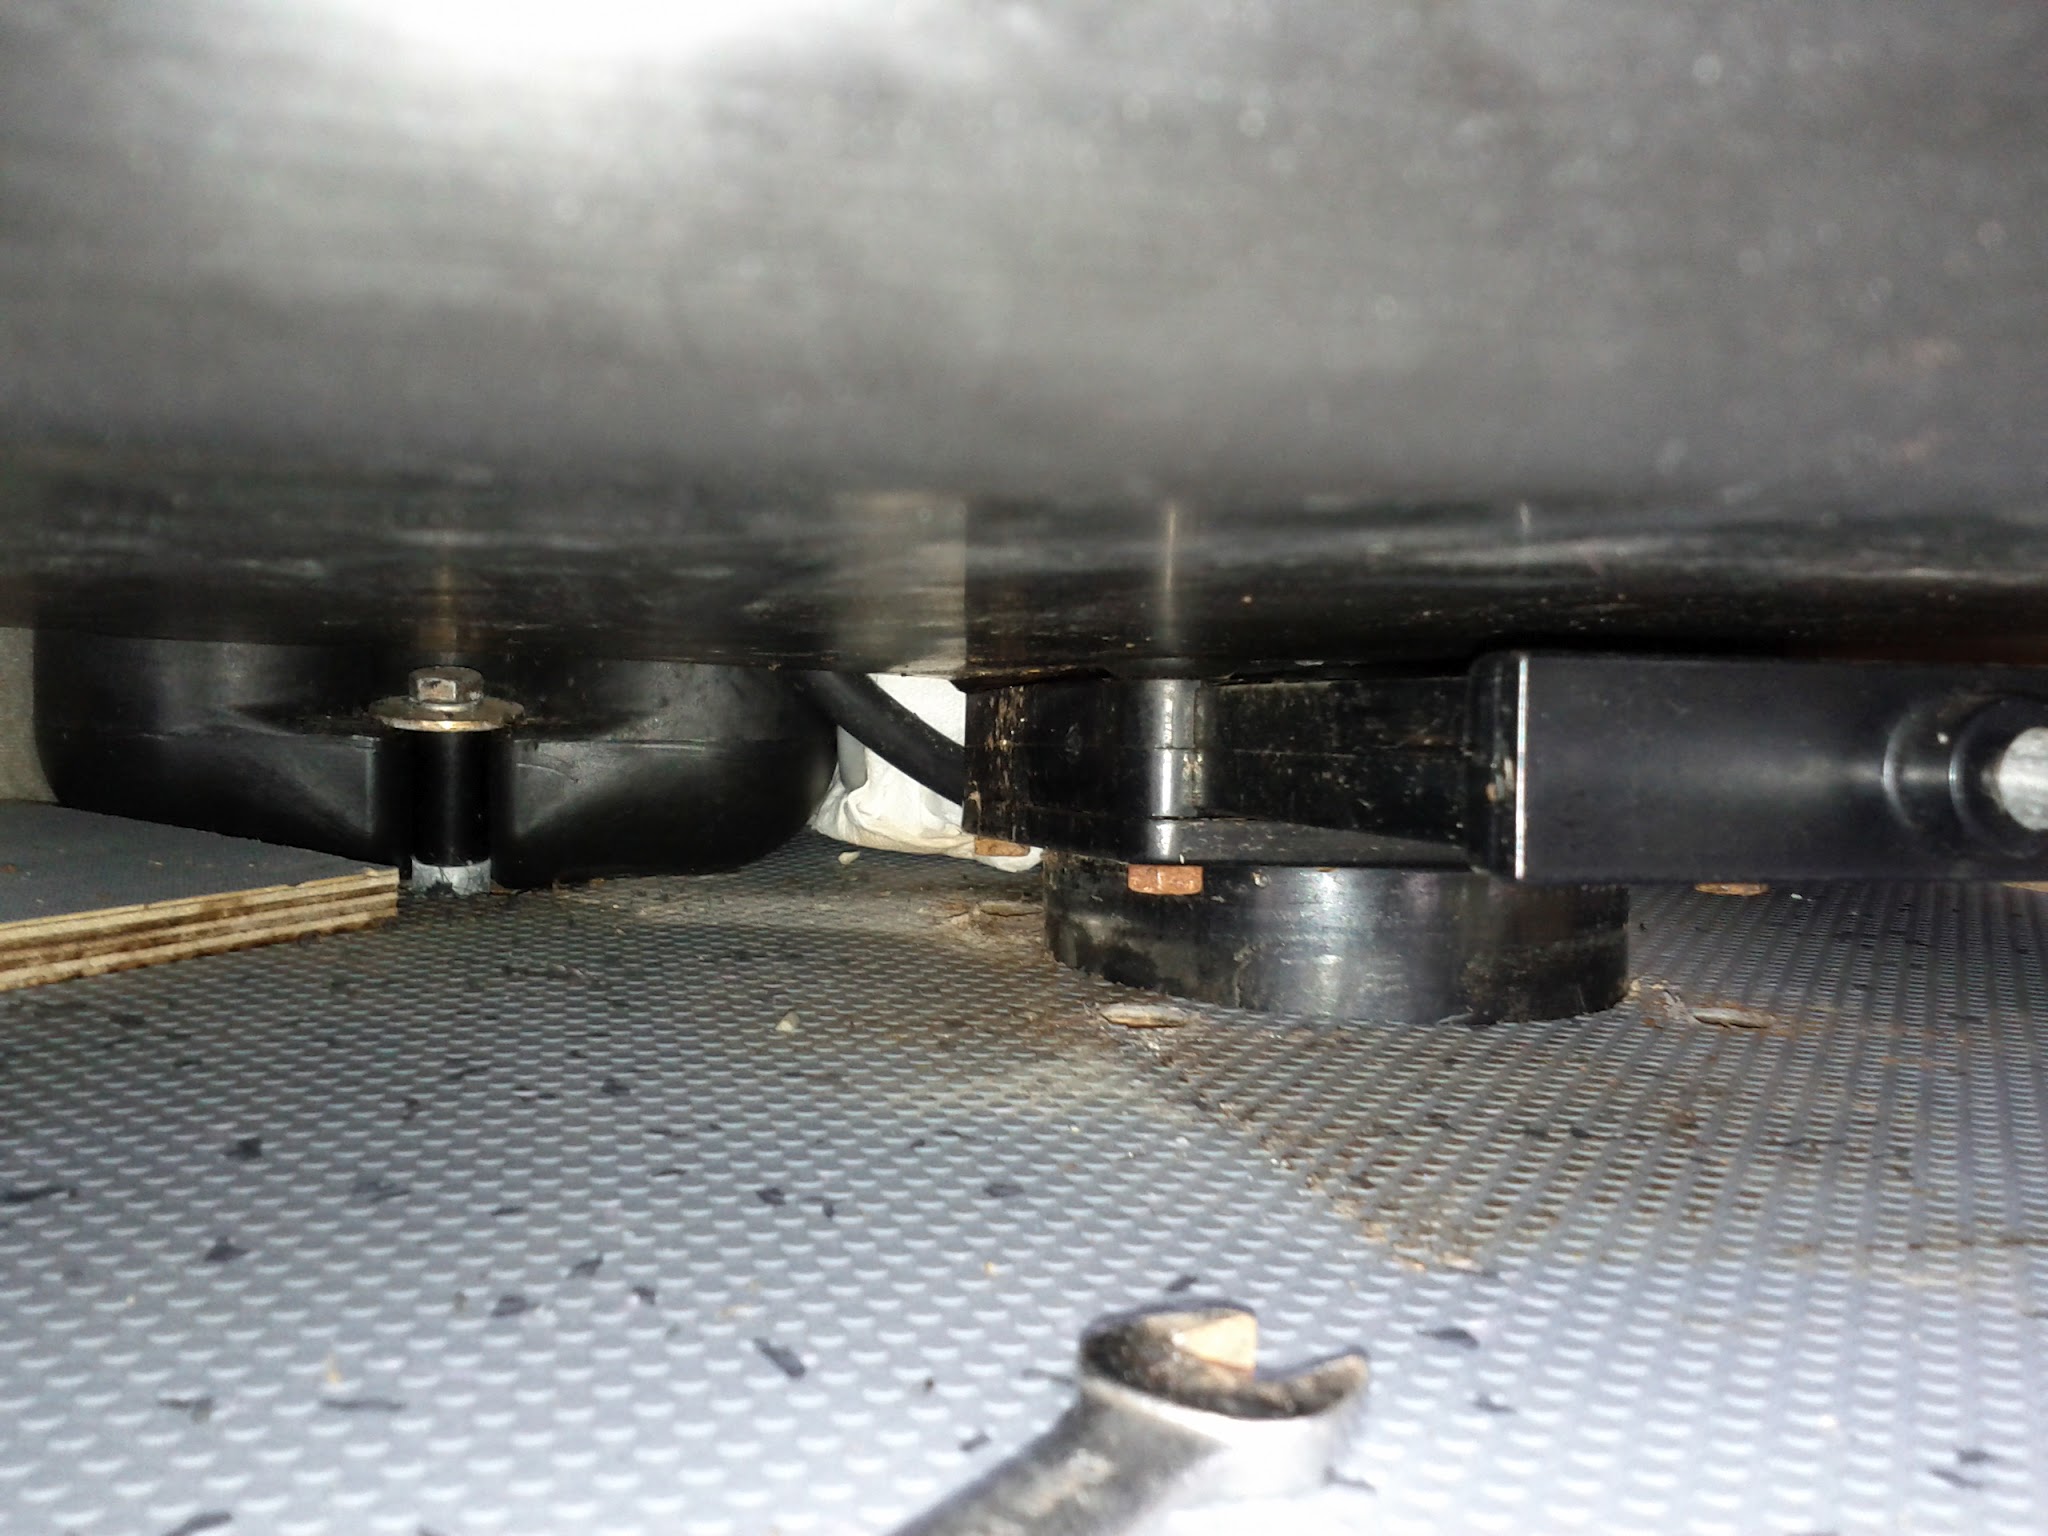
My black water system has been giving me grief – a leaky gate valve under the tank, an improperly sealed inlet on the top, and a relatively small capacity all combined to force me to come up with a replacement.

I’m not a fan of the current setup (even if it was working well) for a few reasons:

  • The capacity is too small. For a family of four, three days without dumping is pushing our luck. We often camp for three days and would prefer not to get nervous on the last day!
  • The dump handle is inside the back doors. This is good for security, as it prevents accidental or malicious dumping, but it’s a pain to reach under the open back door and pull the handle while also holding the dump hose in place.
  • The dump hose is too short. I have to back in to dump stations at crazy angles and get the corner of the van within a foot or two in order to get the hose in place.
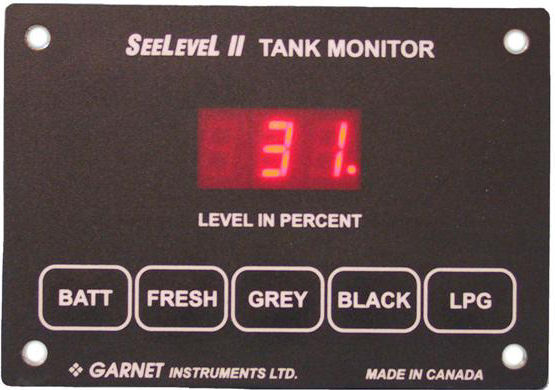
  • Tank level reporting is vague. The 4-LED display panel gives a rough idea, but I’d prefer to have an accurate readout of my tank level.
  • Servicing is close to impossible. To replace the gate valve, you need to remove all of the Sikaflex sealant from the coupling below the van. To remove the inlet tube, you need a saw!

I plan on replacing the tank with a larger, custom-shaped tank. I have a request-for-quote in to George’s Custom Plastics in Tacoma, WA. A standard rectangular tank could be used, but not efficiently – the hole in the floor for the drain is forward of the back edge of the wheel well, so a rectangular tank would waste a lot of space. I’ve posted my planned shape with the pictures below.

More as the project progresses…

Posted in how-to, photos | Leave a comment

Thetford Bravura installation and owner’s guide

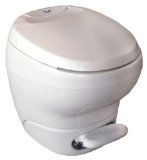
Since I’m re-designing my black water system, I had to pull out the toilet. Here’s the installation and owner’s guide for the factory-installed model, the Thetford Bravura.

Thetford Bravura installation and owner’s guide

The Bravura is still available for sale from a number of places. Ours is the high profile version, as listed here on Amazon:

Thetford 31084 Bravura White High Profile Toilet

Posted in downloads, manuals | Leave a comment