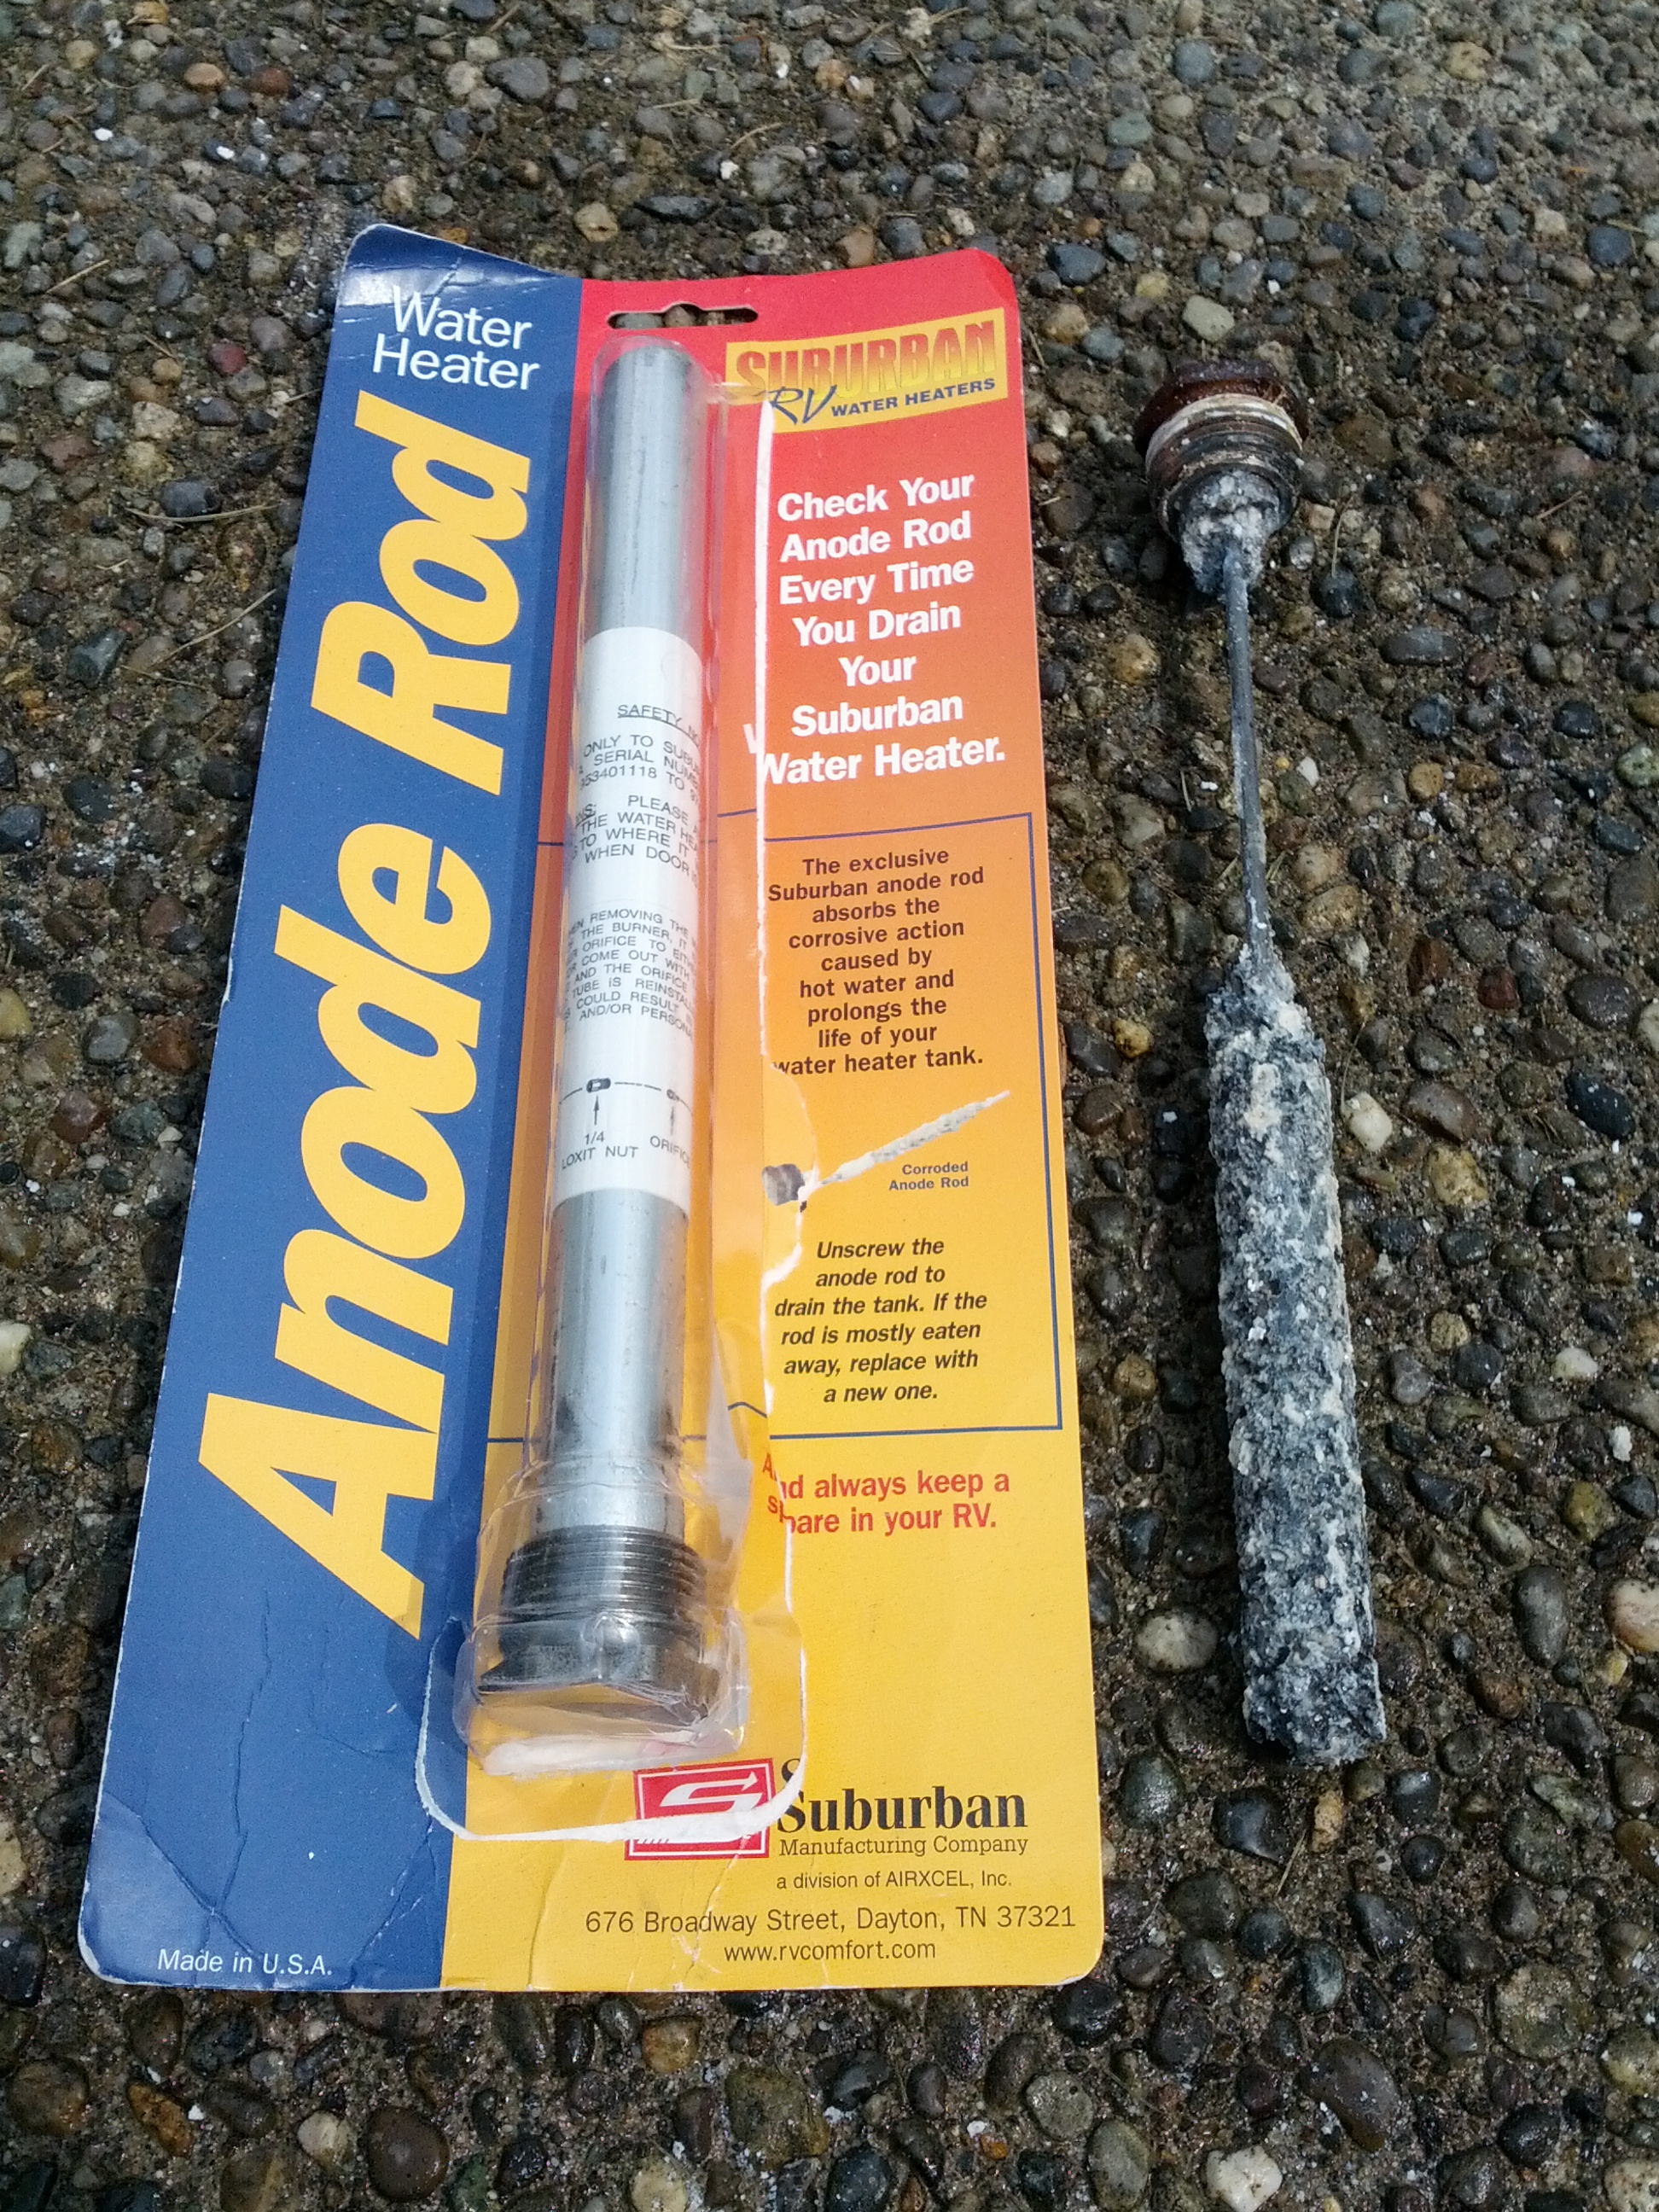
I’m gradually catching up with all of the required maintenance, and this weekend tackled the anode rod in the water heater. I’d been meaning to do it for a while – I’d never replaced it myself, and had no idea when it was last replaced by the previous owner.
To get the old rod out, you’ll need a 1 1/16″ socket (a wrench won’t fit). I didn’t have that socket but did have a 27mm socket that fit perfectly.
After a few turns of the bolt head, the water in the tank came shooting out in a great burst! I found myself covered with water as well as what I presume to be calcium deposits 🙂 The rest of the water proceeded to drain out of the tank through the anode rod’s hole – perhaps it also drained my fresh water tank at the same time? Once all the water was out I directed a garden hose into the hole to try and flush out all of the gunk I could feel at the bottom of the tank. There was a lot!
A hint for anyone else doing this: park very close to a drain when you do this. The amount of calcium deposits in the tank is amazing!! After hosing it all off of my driveway I’m left with a broad white strip at the bottom of the drive.
The new rod just screws right in. It’s an easy, 5-10 minute job; 2 minutes if you don’t need to rinse your tank.
Here’s the rod I bought: Suburban 232768 Aluminum Anode Rod
The rod inside the tank still had a fair amount aluminum left on it. I bought the van a year ago:


2 Responses to Replacing the water heater anode rod