I posted earlier about my new See Level II digital tank monitor. In the comments, Rob asked for more details about the installation. I bought the display from Dyers RV online for $183 shipped.
Installing the sensors
The sensors are made of flexible plastic with a sticky backing. They come standard at about 11″ tall, and can be cut to size for smaller tanks. For larger tanks, two sensors can be stacked on top of each other.
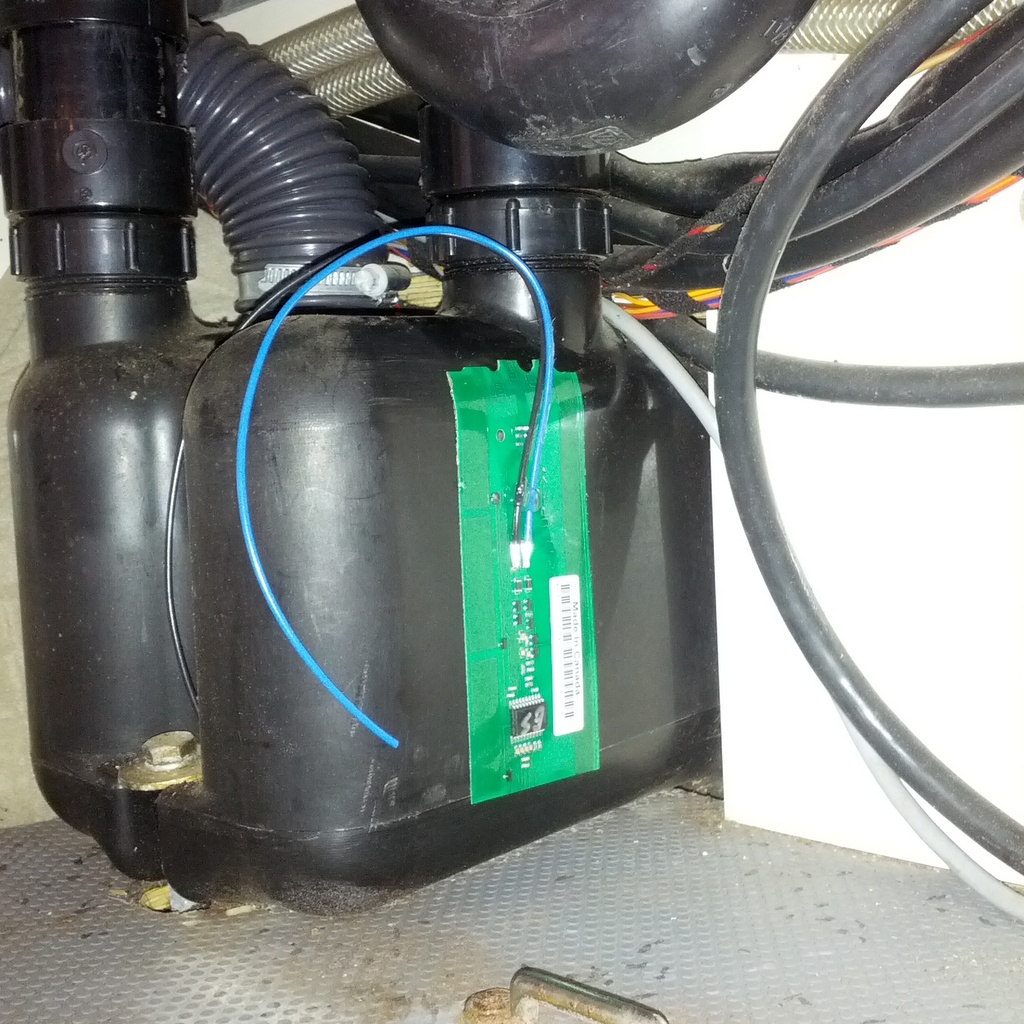
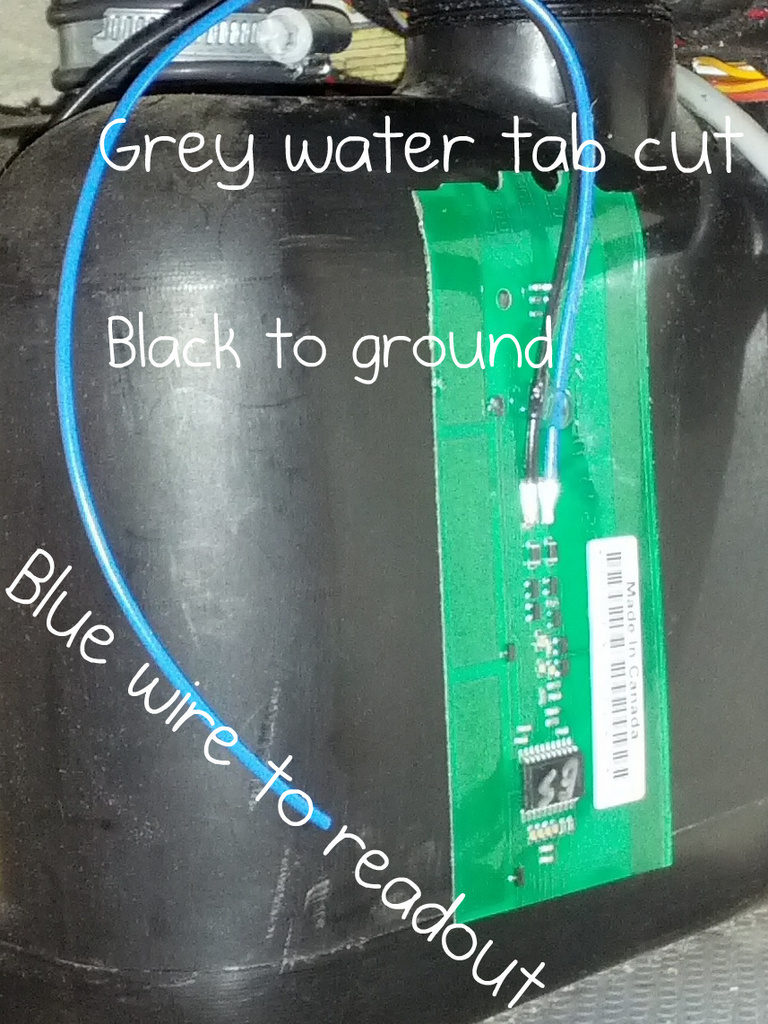
I installed the grey water sensor on the back of the grey water tank, where it protrudes from under the floor into the rear storage compartment. I had the black water tank removed, which greatly simplified access, but I imagine you could still get to it with the black water tank in place. To fit this small tank, I cut the sensor down to 4.5″ tall, the smallest allowed height. There’s a small tab at the top of the sensor that needs to be cut off, that programs the sensor to report the correct tank (grey, black, or fresh water).
The instructions say to center the strip vertically on the tank. This allows for the thickness of the plastic, which is usually about 3/8 of an inch.
My new black water tank is rectangular, which made it easy to stick the sensor to it.
Each sensor has two wires: a blue wire that goes to the readout, and a black wire that goes to ground. All of the blue wires go to a single pin on the readout.
(Pardon my budget images!)
I used the existing wiring from the old black water tank:
I clipped off the connector to expose the wires. I kept brown as the ground and attached the two black wires from the two tank sensors to brown. I chose green for the sensor wire, and twisted the two blue wires together to the green. That takes care of everything down below.
Installing the display
In the cabin, I removed the old Westfalia black water display and disconnected the two plugs from the back of it. I’ll add pictures when I get a chance, but the two plugs are: one 2-wire plug, on which white is 12V and brown is ground; and one 4-wire plug, which runs down to the old black water tank.
I attached:
- The green from the 4-wire plug to the blue on the display.
- The brown from the 4-wire plug to the ground on the display AND to the brown on the 2-wire plug.
- The white from the 2-wire plug to the red of the display.
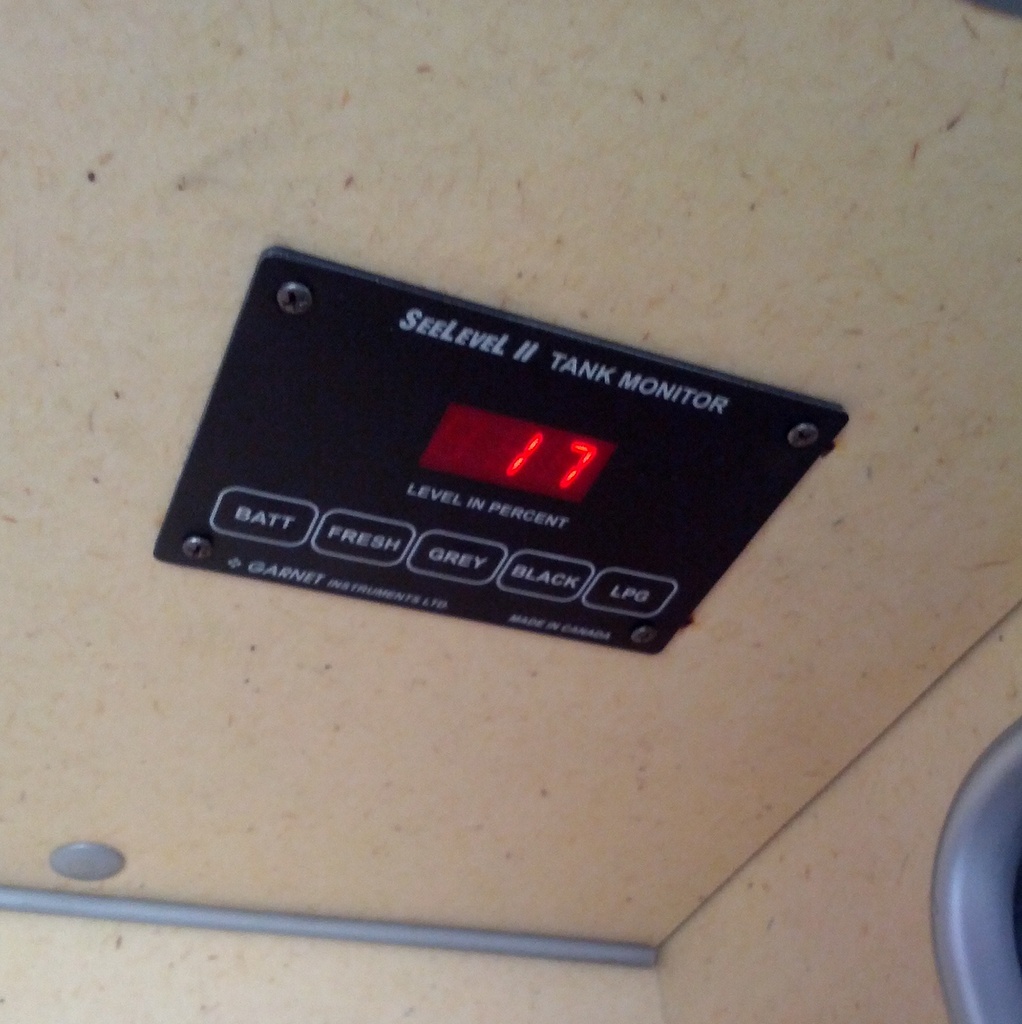
I then put the new display into the old display’s cutout, adjusted it until it was covering two of the old screw holes, then drilled new holes and installed it with the old screws. This leaves two old screw holes exposed and needing filled.
The final display looks very nice, and works perfectly:
This was a super easy installation, with big benefits! The stock readouts are approximate at best, and having precise measurements is very useful with our relatively small tanks.
Next up:
- Run a wire from the display to the propane tank, for propane level readout.
- Install a sensor on the fresh water tank, if I can access the side of it.
- Run a wire from the house battery bank, for battery voltage reading.
Hope this helps someone!


