Westy sets motorhome speed record

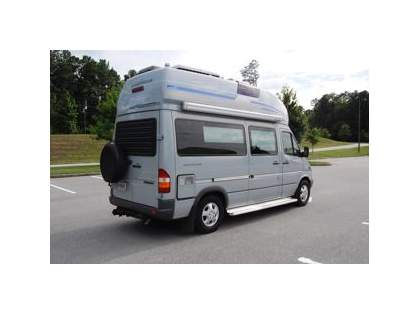
Okay, so it’s not our Sprinter Westfalia, but a Mercedes-Benz Viano in Westfalia trim just set the motorhome speed record, at 137.9 mph / 222 km/h.

It doesn’t seem very fast to me, though. I had my old 1980s Volvo 240 wagon up to 101mph once, and it had 400,000 miles on the engine and no overdrive!

Posted in uncategorized | Leave a comment

Broken sway bar bracket

While under the van working on the plumbing, I noticed that the driver’s side sway bar bracket had broken. Thanks to the sprinter_westfalia owner’s group, I quickly learned that:

  • This isn’t uncommon!
  • Our van uses a 3500 series sway bar, but a 2500 series sway bar bracket.

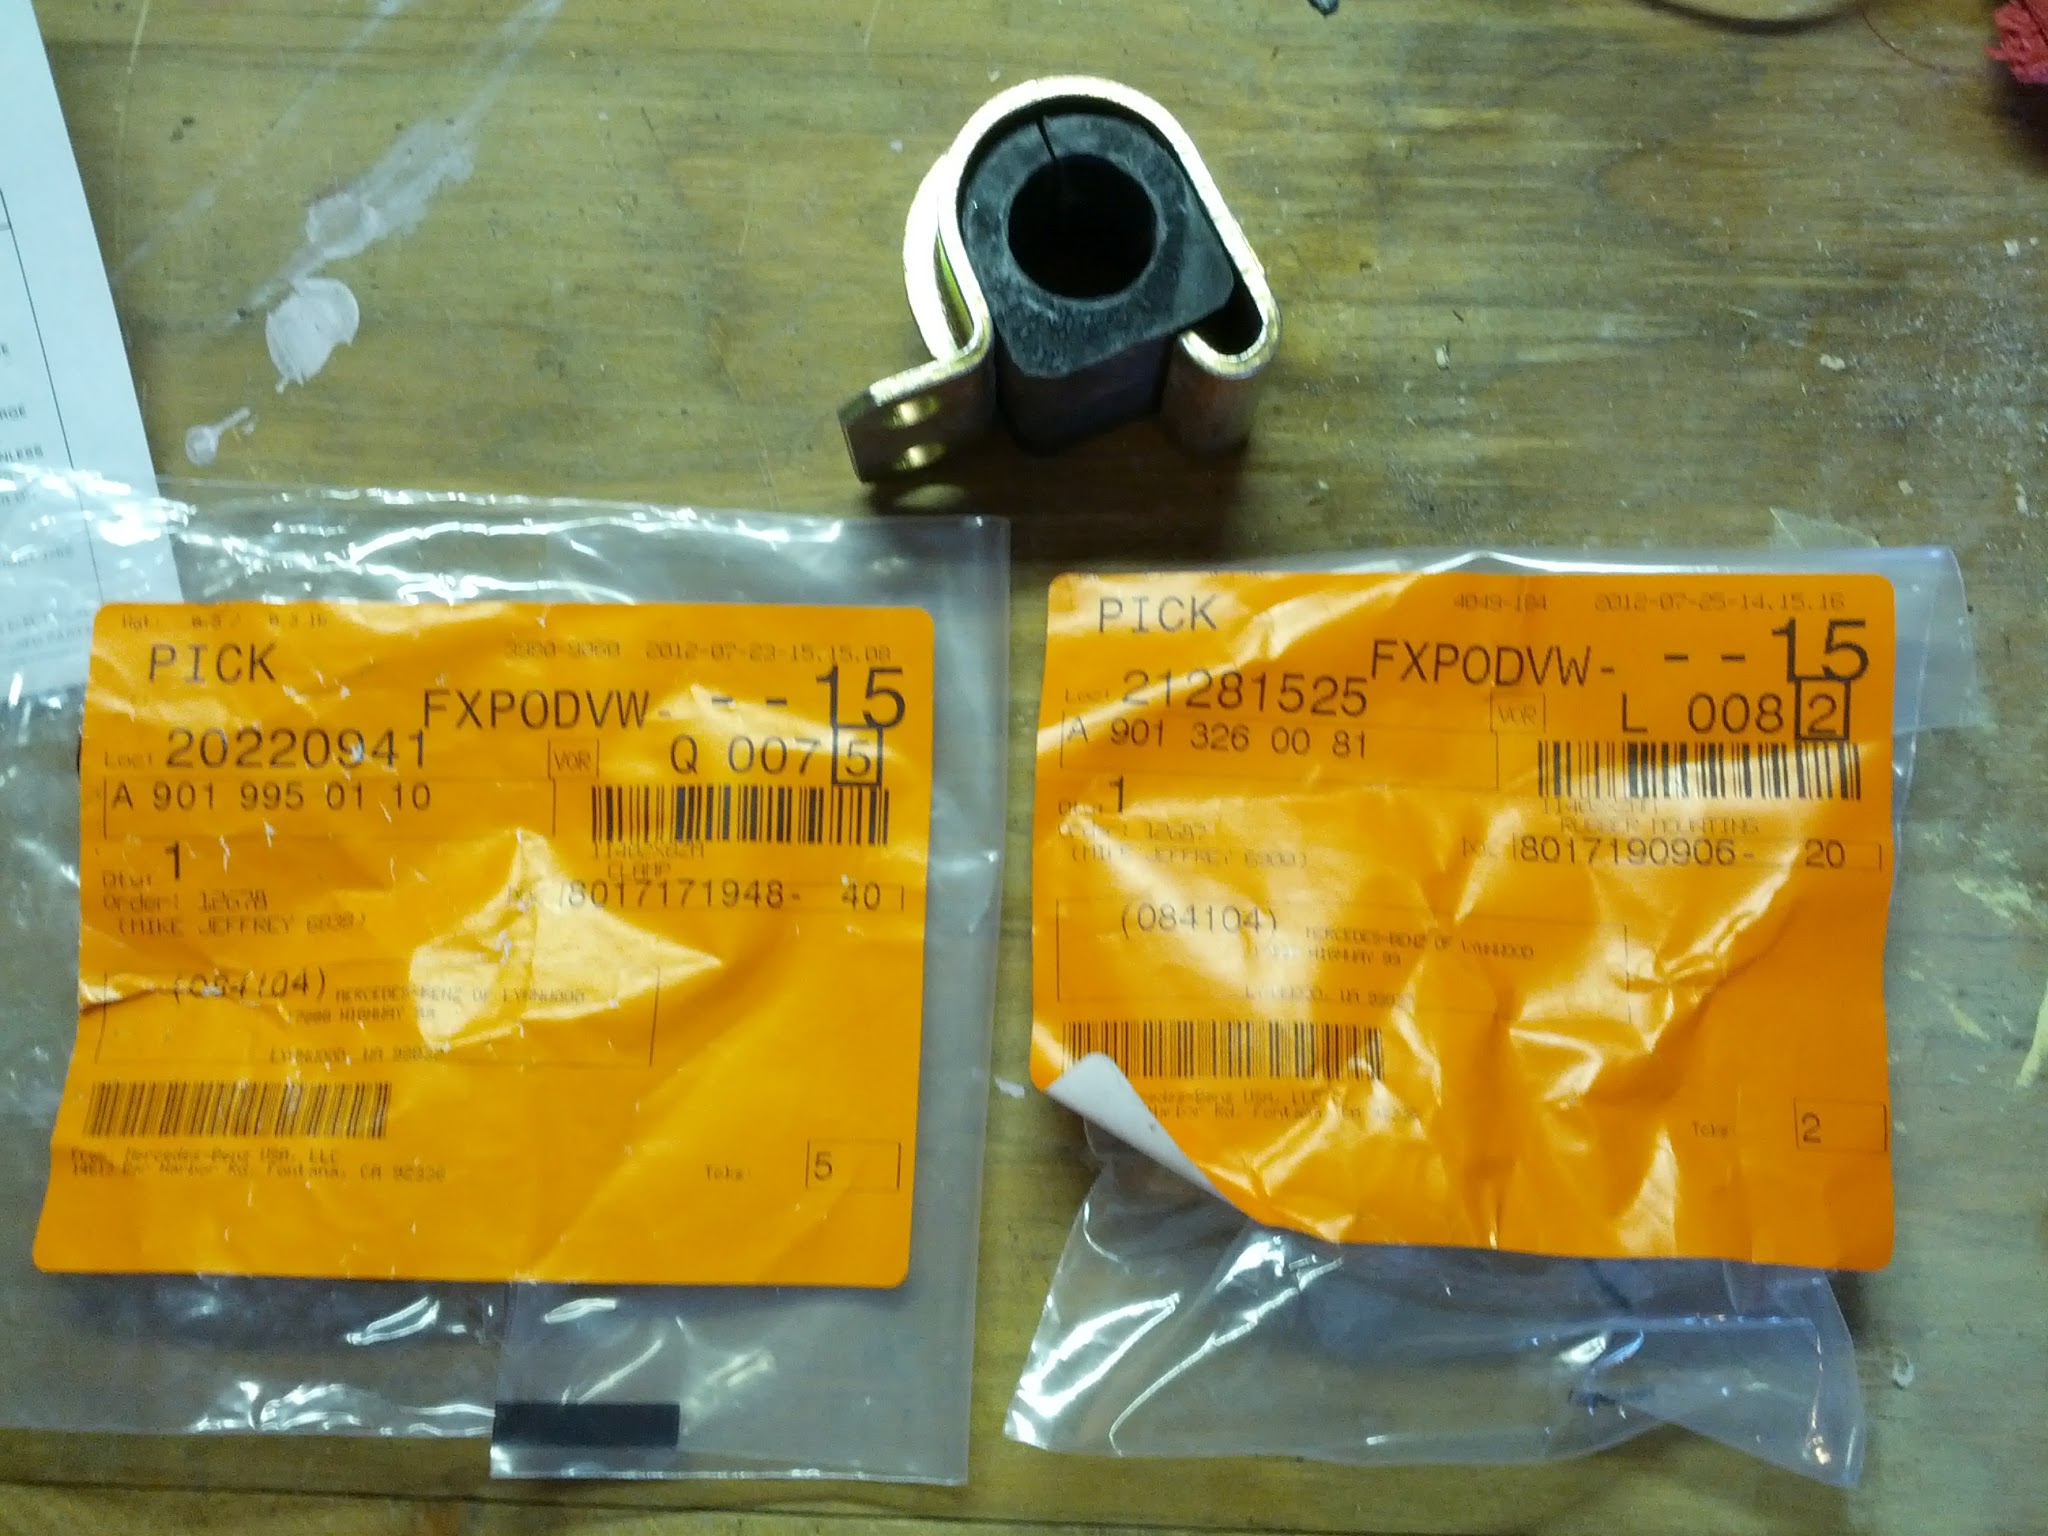
Because of this second point, fixing it is a little trickier. First of all, the parts to order are:

Sway bar bracket: A 901 995 01 10
Bushing: A 901 326 00 81

Continue reading

Posted in how-to | 4 Comments

See Level II tank monitor installation details

I posted earlier about my new See Level II digital tank monitor. In the comments, Rob asked for more details about the installation. I bought the display from Dyers RV online for $183 shipped.

Installing the sensors

The sensors are made of flexible plastic with a sticky backing. They come standard at about 11″ tall, and can be cut to size for smaller tanks. For larger tanks, two sensors can be stacked on top of each other.

Continue reading

Posted in gadgets / accessories, how-to | Leave a comment

Shade wall for the awning

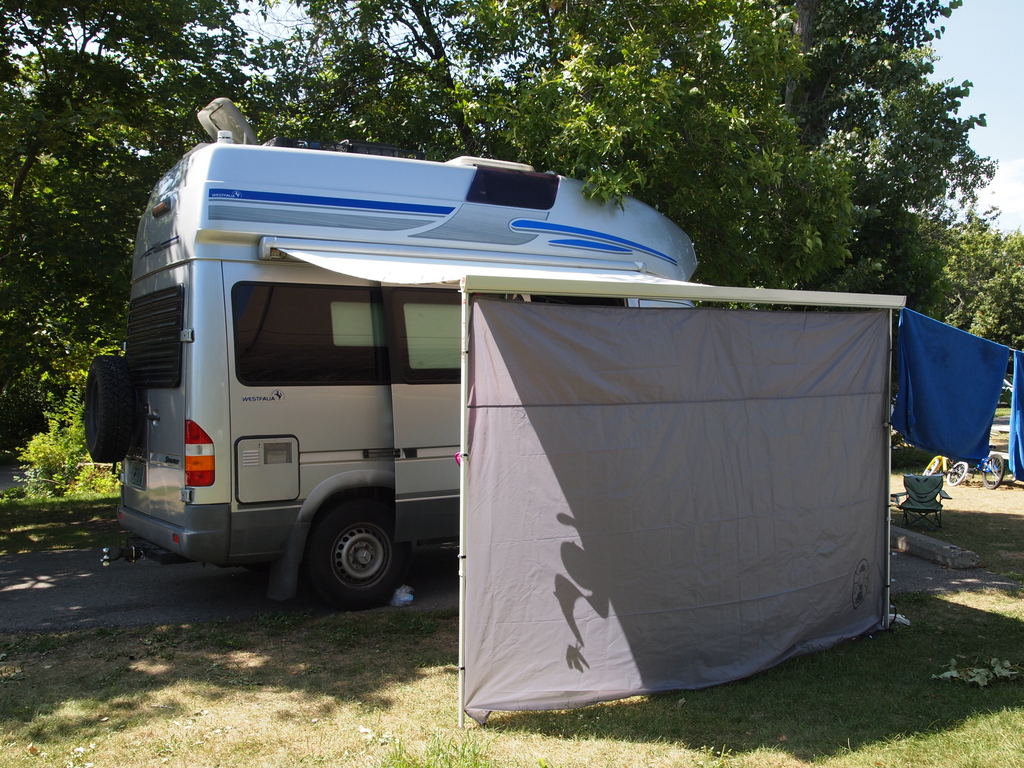
For our last camping trip we picked up a Coleman 10×10 shade structure, the screen walls for the same, and the sun wall. The sun wall is a 50 SPF fabric that’s made to attach neatly to the Coleman structure. It so happens that it fits perfectly to our awning, too!

The top of the fabric has three hooks: one for each awning leg, and one that hooks over the plastic bar in the center of the case. Each side of the fabric has elastic loops with hooks, that wrap around the awning legs. On the bottom are hooks that go into the awning feet, and loops for tent stakes.

In a decent breeze, the sun wall just flapped lazily. There’s enough give in the elastic loops to let the wind spill out the sides and bottom.

I only wish it was a bit more colorful!

Links:

Instant Shelter (10´ x 10´) Straight Leg (Amazon.com)

Coleman Screen Walls for Instant Shelter (Amazon.com)

Coleman Sun Wall for Instant Shelter (Target.com)

The first two are Amazon links, but I ended up buying everything in-store at my local Target. I think I ended up with an older model (the canopy is grey instead of green) but it works perfectly well.

Posted in gadgets / accessories, photos | Leave a comment

Digital tank level readouts

I had a crazy day on Friday putting all of the pieces together for my new black water setup, in preparation for a 4-day camping trip the next day. At 5pm I was happy with it all, and filled the tank with water for its water test… unfortunately it failed miserably at a glued joint!! I didn’t have time to fix it up before the trip, so it was one more camping trip without the bathroom – luckily the campground we were at had very nice facilities, so we weren’t put out too much.

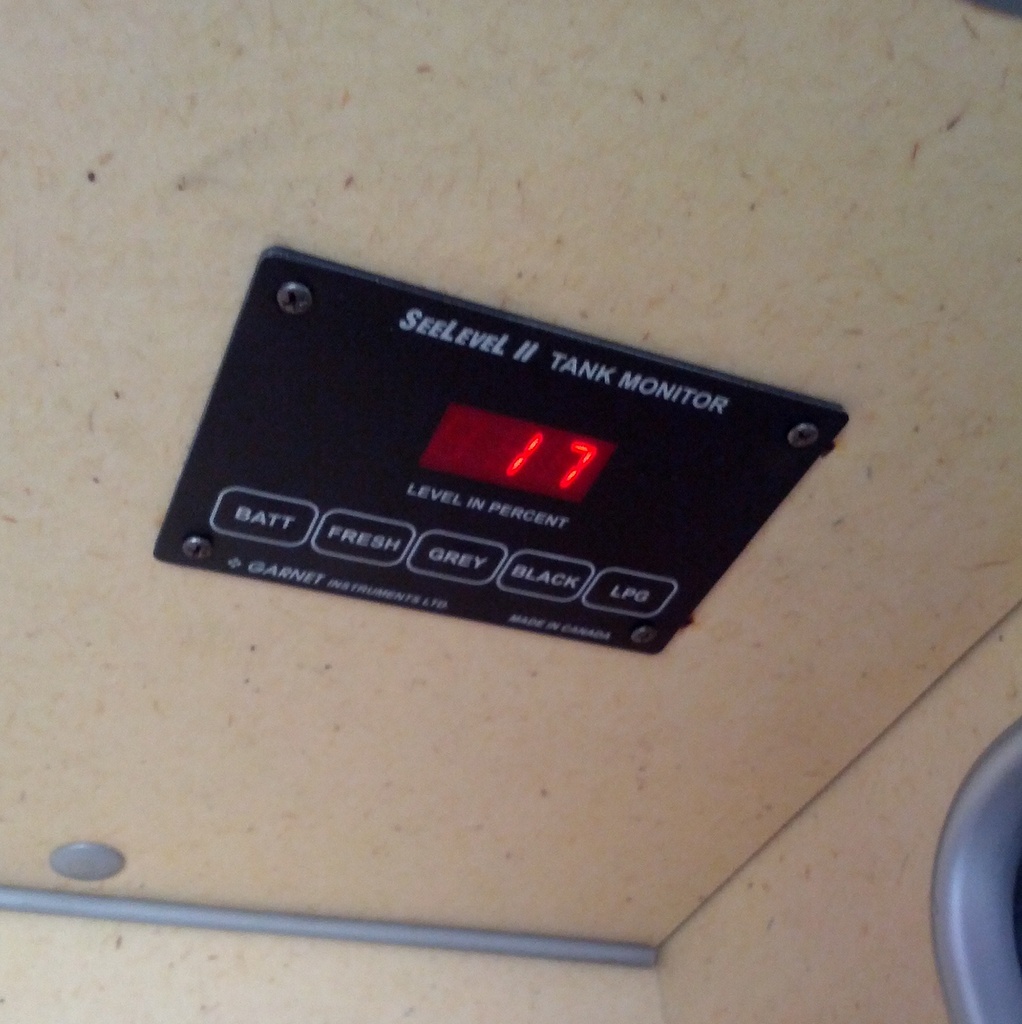
One part of the system that did work was the SeeLevel II tank monitor. It provides fullness levels for all of my tanks in percentages, giving a much clearer picture of where I’m at with each tank:

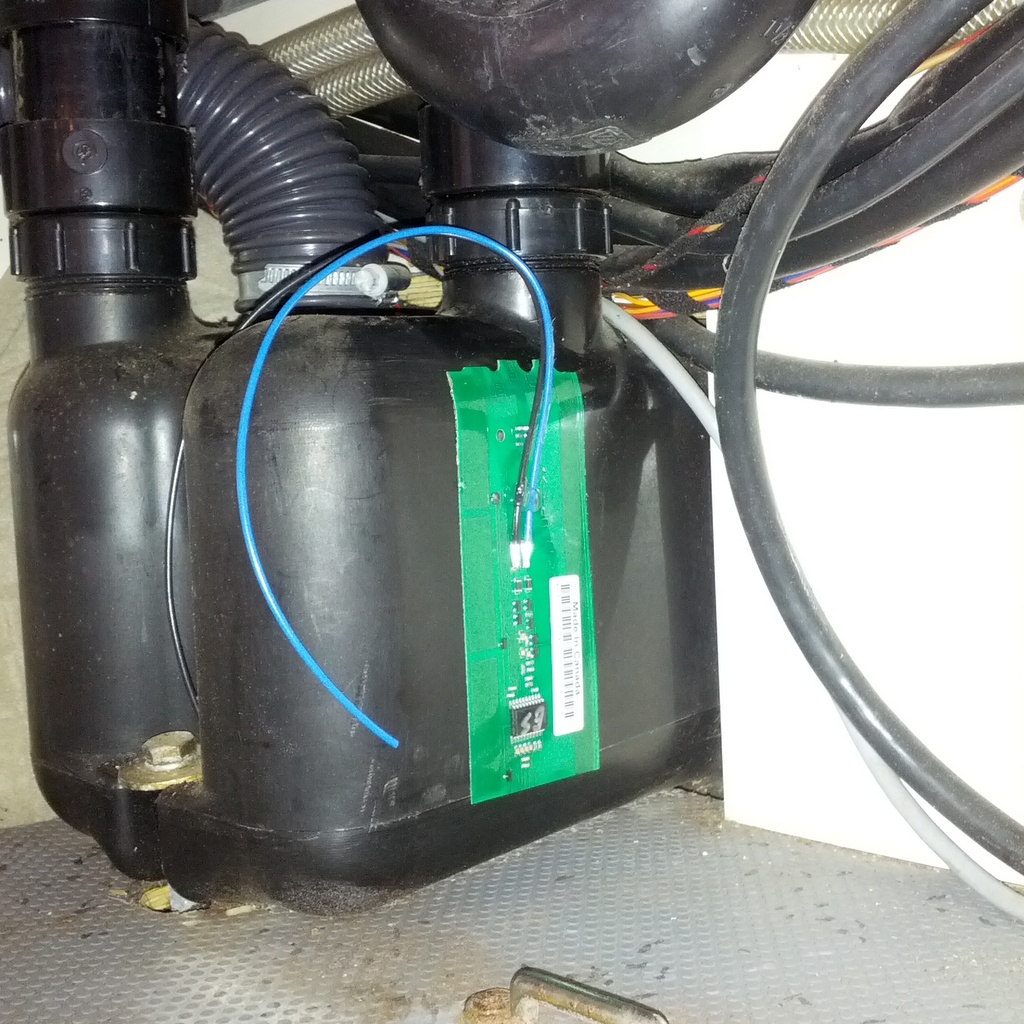
It uses electrical sensors on the outside of each tank, so there’s nothing to get gummed up:

There’s also a wire for a propane readout, that works with electrical senders. After spending a bunch of time online trying to find out how to fit an electrical sender to our propane tank, I went outside to see what model of gauge is installed. Lo and behold, an electrical sender is already fitted to the gauge! So it’s just a matter of running a wire from the panel to the tank, and a ground from the tank to the frame.

Posted in gadgets / accessories, photos | 10 Comments

A cool storage idea

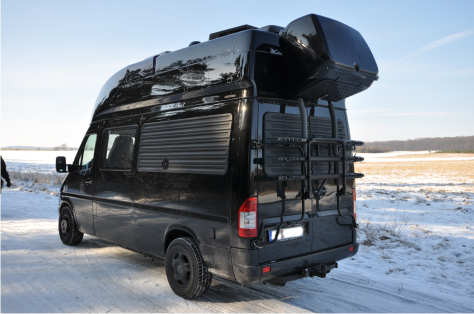
While browsing the German Westfalia James Cook site, I came across this cool example of creative storage solutions:

It was posted by user uwe-bs.

I haven’t found any details as to how it’s mounted, what the box is, etc. But it’s food for thought for any creative types who are considering external storage.

Update: Uwe from Germany responded to my email; it’s an Omnistor Carry-All Box 100. I believe it’s mounted to the bike rack with extended posts and some angle aluminum, but Google Translate didn’t capture the details very well.

Posted in photos | 1 Comment

Replacing the water heater anode rod

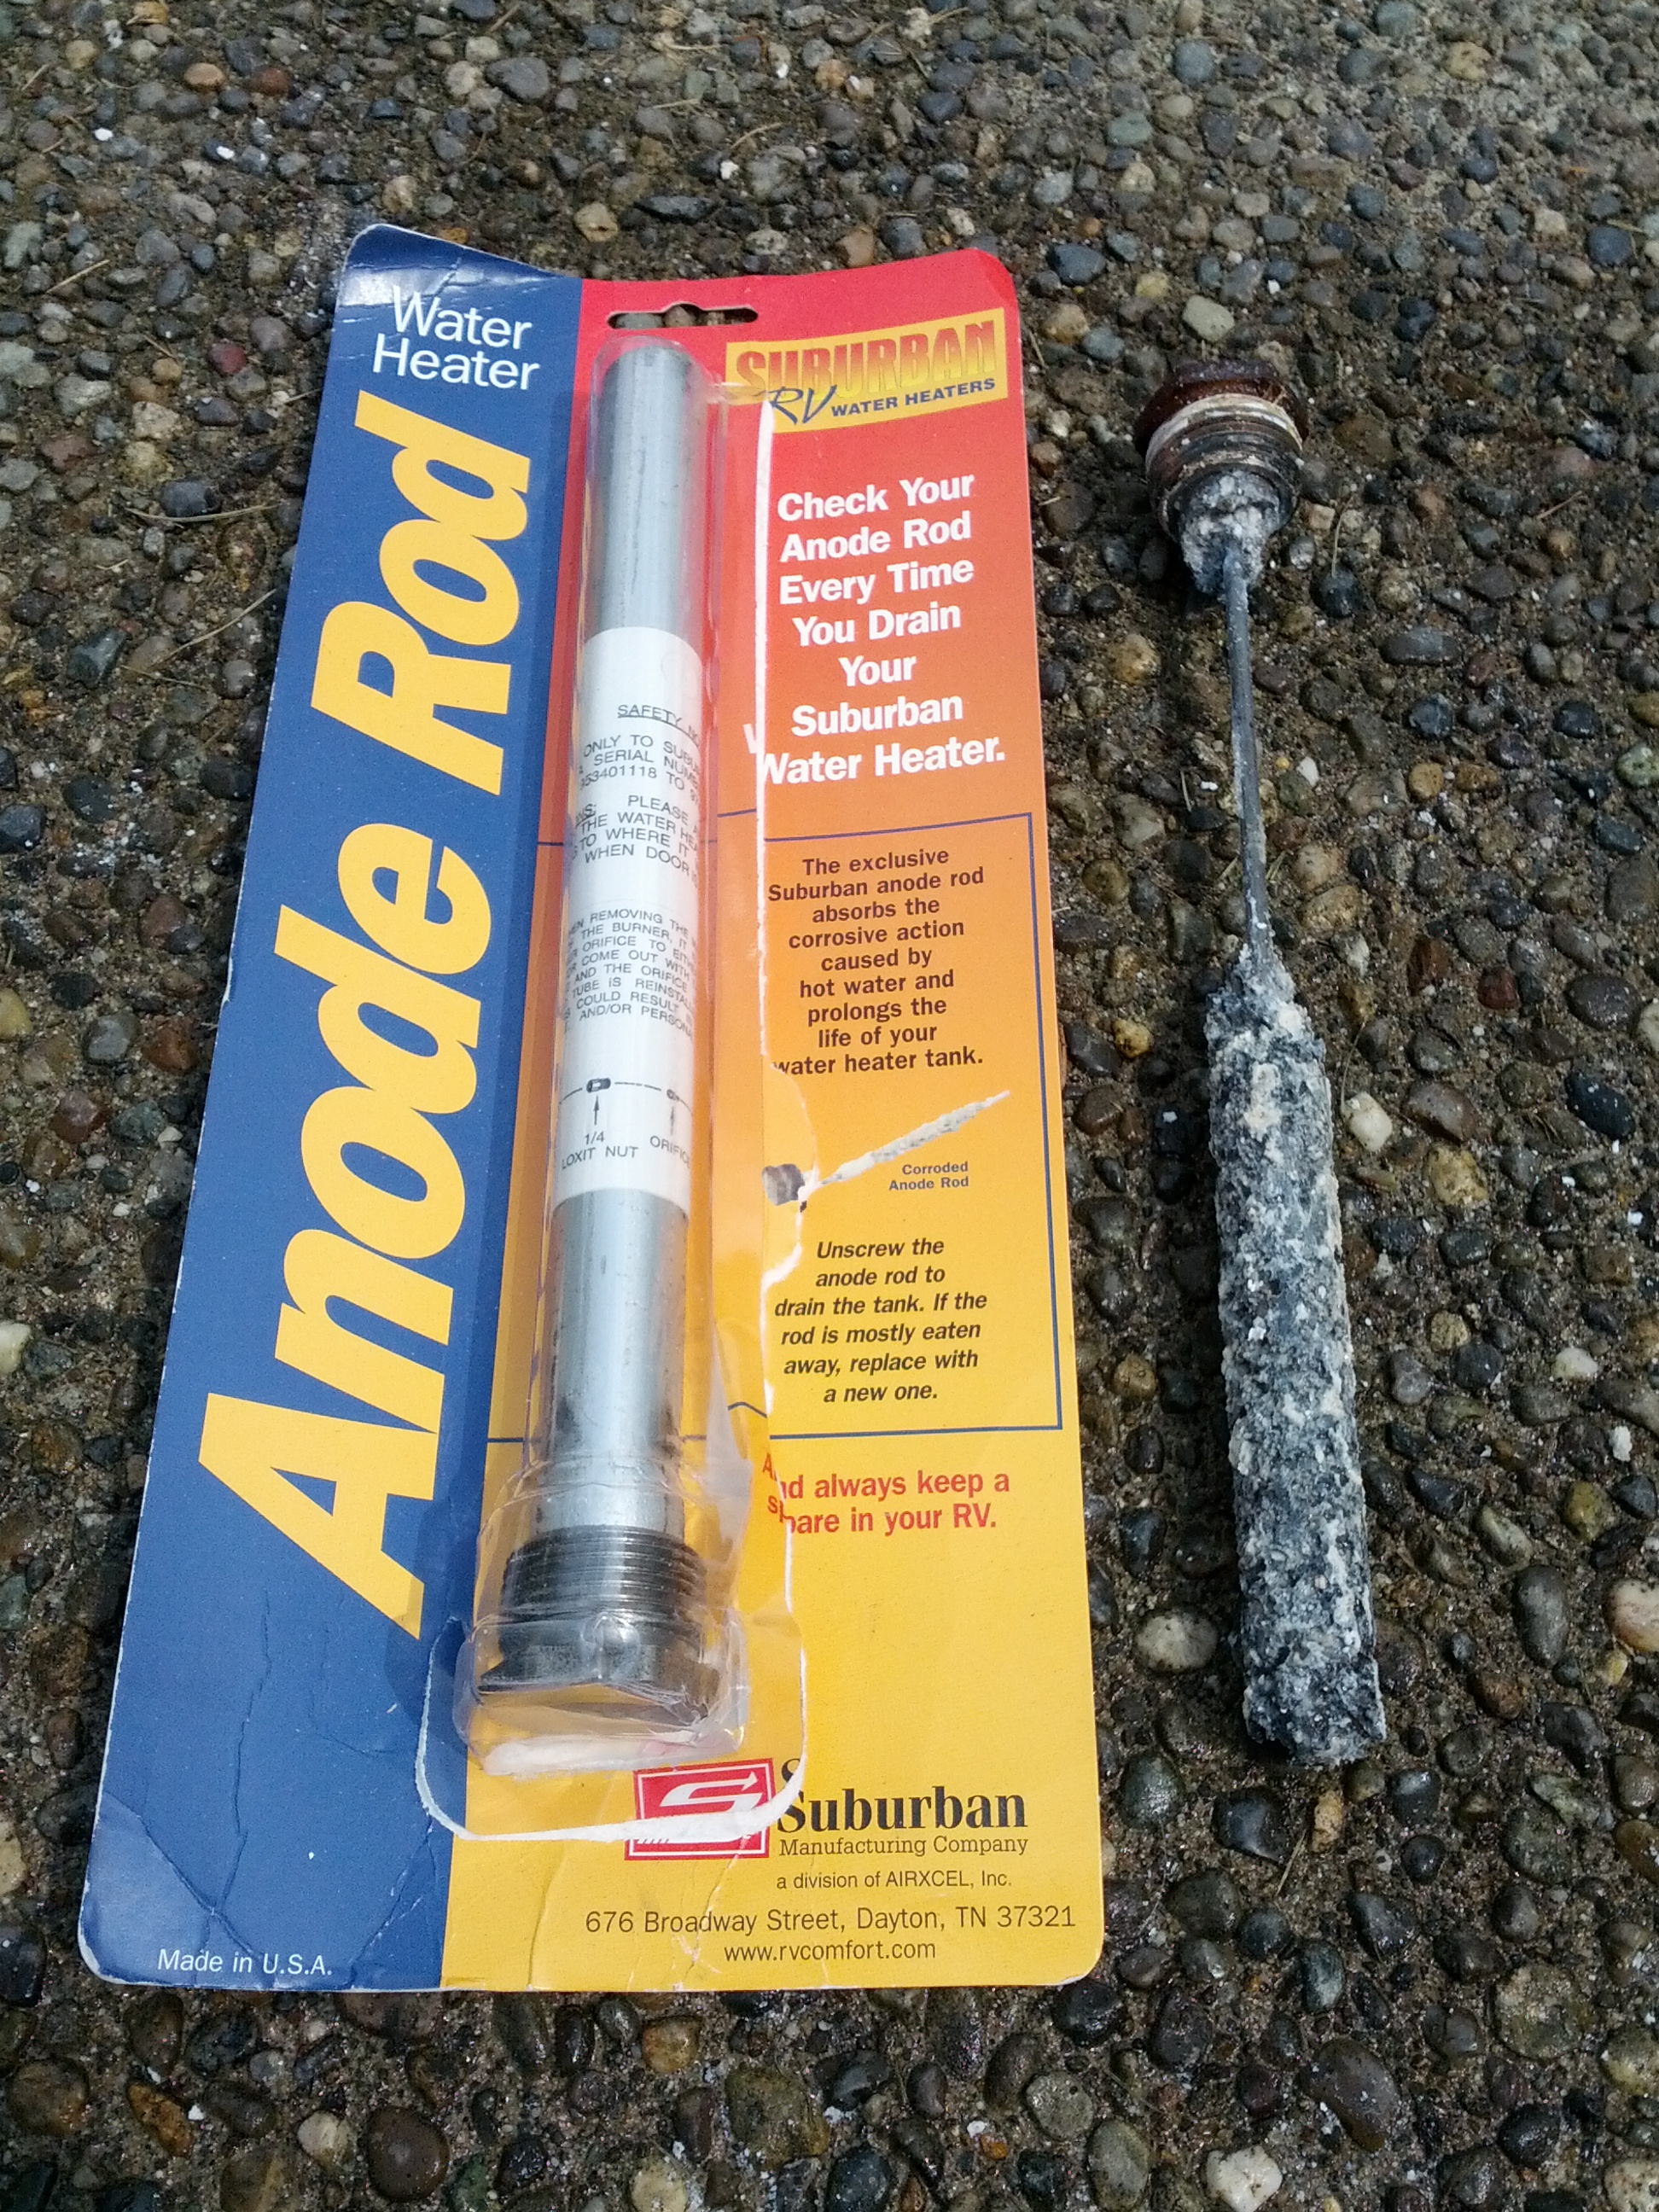
I’m gradually catching up with all of the required maintenance, and this weekend tackled the anode rod in the water heater. I’d been meaning to do it for a while – I’d never replaced it myself, and had no idea when it was last replaced by the previous owner.

To get the old rod out, you’ll need a 1 1/16″ socket (a wrench won’t fit). I didn’t have that socket but did have a 27mm socket that fit perfectly.

After a few turns of the bolt head, the water in the tank came shooting out in a great burst! I found myself covered with water as well as what I presume to be calcium deposits 🙂 The rest of the water proceeded to drain out of the tank through the anode rod’s hole – perhaps it also drained my fresh water tank at the same time? Once all the water was out I directed a garden hose into the hole to try and flush out all of the gunk I could feel at the bottom of the tank. There was a lot!

A hint for anyone else doing this: park very close to a drain when you do this. The amount of calcium deposits in the tank is amazing!! After hosing it all off of my driveway I’m left with a broad white strip at the bottom of the drive.

The new rod just screws right in. It’s an easy, 5-10 minute job; 2 minutes if you don’t need to rinse your tank.

Here’s the rod I bought: Suburban 232768 Aluminum Anode Rod

The rod inside the tank still had a fair amount aluminum left on it. I bought the van a year ago:

Posted in how-to | 2 Comments

Some info about shocks

Upscale Automotive / The Sprinter Store is known as being one of the most knowledgeable shops when it comes to Sprinters. Here are the owner’s thoughts on shocks for our vans, originally posted to the sprintervan Yahoo! group:

We sell 5 lines of shocks and 4 lines of struts for the T1N and the NCV3 Sprinters. My take on them is as follows:

Koni shocks and struts; whether you own an RV or a passenger van, Koni is one of your best choices. The adjustability allows you/us to tune the suspension to your needs. In the stock setting you get a firm and controlled ride that is far better than factory. Adjusting them up allows you to compensate for weight or other factors depending you your situation. It is our policy to discuss your needs and set the Konis for you before we send them out. Konis in their stock setting is a definite step above the factory equivalent. Koni carries a lifetime warranty and we have only ever seen 2 or 3 fail. Back in 03, I helped Koni and IPD sort out what product to begin selling in the States. Those original Koni shocks and struts are still on my 03 140″ 2500SHC cargo van and are still performing like new. FWIW, the Koni people are fantastic to work with.

Bilstein shocks and struts; again whether you own an RV or a passenger van, these are one of your best choices. The Bilstein product is not adjustable. They offer a firm ride and excellent performance. I would compare the Bilstein valving to the Konis set at about ¼ to 1/3 and the ride/performance would be a step above the Koni set in the stock position. Bilstein is an excellent product and they have their place in the market. FWIW, the Bilstein people are butt heads to work with (I’m being kind). But, they do have an excellent product and I really like it.

KYB shocks and struts; their products would be considered a factory equivalent. They offer factory type ride and performance. The pricing and quality are very good and they would be a good choice if performance were not a consideration.

Monroe shocks and struts; again their products would be considered a factory equivalent. They are close to factory ride and performance. The pricing is good and they would be a good choice if cost were the consideration.

Meyle shocks; they are considered a factory equivalent and offer the equivalent ride. The pricing is good and they would be a good choice if cost were the consideration.

Needless to say we don’t sell many of the KYB, Monroe or Meyle products, usually only to fleet customers. BTW, 3 of my 4 Sprinters have Konis on them. The 4th, our 4wd Sprinter conversion, is a completely different story!

As far as sway bars go, they do make a definite improvement and are worth the investment. We sell both Roadmaster and Hellwig depending on the application. Both companies worked with us on design and trouble shooting aspects of their products. Many of the Roadmaster bars were designed off my Sprinters or models we provided. Our 4wd Sprinter uses a Roadmaster bar that we designed specifically for it. Both are excellent companies and fantastic to work with. BTW, if I owned a 3500 Sprinter based RV (Class C or B), I would install the auxiliary sway bar kit. The difference is significant, more so than just up-grading the factory bar. If you really wanted to go up town, you’d install the Glide Rite rear quad air bag system…it’s just plain awesome!!

Some one made a comment in a prior post about a conversation with Koni management and something happening this fall. If I were a bettin’ man (and I am in this case), I would be looking forward to football season! I’m not sure this is the info you are looking for but I hope it helps.

Thank you, John
Sprinter Store
http://sprinterstore.com/
A division of Upscale Automotive, Inc.
19460 SW 89th Ave.
Tualatin, OR 97062
503-692-0846


Posted in uncategorized | 2 Comments

Black water update; new shocks

Our first camping trip of the year came before the black water system was complete. My wife was positive we’d be just fine using the campground toilets; I waited until she’d stood in line for the pit toilet to bring out the Luggable Loo I’d bought instead 🙂 I’ve never been such a champion thanks to a 5 gallon pail and a garbage bag!!

The reason the toilet wasn’t put back together was that the holding tank manufacturer had sent me a tank with the fittings in the wrong place. I’d specified that the bottom outlet be about 2.5″ from the edge; apparently 3″ is as close as they can make it, but they didn’t give me a chance to move the top outlet to compensate. I bought the tank through Marine Sanitation in Seattle – Marine Sanitation took the tank back with no hassle, and ordered me another one right away. That one arrived yesterday, with fittings in the right position, but with the bottom of the tank so bowed that the fitting was on a 30 degree angle. Marine Sanitation took that one back too, and hopefully the next one will get it right. I’ll put up an updated fitting drawing soon for anyone who’s interested. Full credit to marinesan for taking care of their customers.

The electric slide valves didn’t work out either. It turns out that they need to be installed vertically, and they’re HUGE! So there’s no way they’ll fit under the van without dropping the plumbing ridiculously low. They went back as well, replaced with good ol’ Valterra slide valves with a cable pull. Amazing that there’s not a better product out there by now.

Finally for today, I have a new set of Koni Reds to install. The rears have arrived, while the fronts are backordered until the end of June. Thmotorsports.com has the best price I could find; use code ‘5offFive’ to get 5% off, for a total price of $533.52 shipped.

Posted in uncategorized | Leave a comment