Category Archives: how-to

How to find a Sprinter Westfalia for sale

The most common question I get through this site is: how do I find a Sprinter Westfalia for sale? Having sold my own, I no longer actively seek out ones for sale to list on this site, so here’s where I generally point people to look:

  • The sprinter_westfalia Yahoo group. This is a very active, very knowledgeable and friendly group of owners, and probably includes a good percentage of current Westy owners. Vans come up for sale on the list periodically.
  • The Airstream Westfalia forum on sprinter-source.com. Another active site with Westy owners. You could also check the for sale forum on the same site.
  • A craigslist aggregator like SearchTempest.com. These sites let you check multiple craigslist sites from a single search – configure your search for the entire US and set an alert if you can.
  • I’ve seen a few vans come up on EBay. They seem to command higher prices, but don’t always sell through the site.

Do you have any other suggestions for places to look? Let me know in the comments.

Are you selling your van? Post it in the locations above, and feel free to send me the info if you’d like it posted on this site.

Posted in for sale, how-to | 3 Comments

Removing the air conditioner

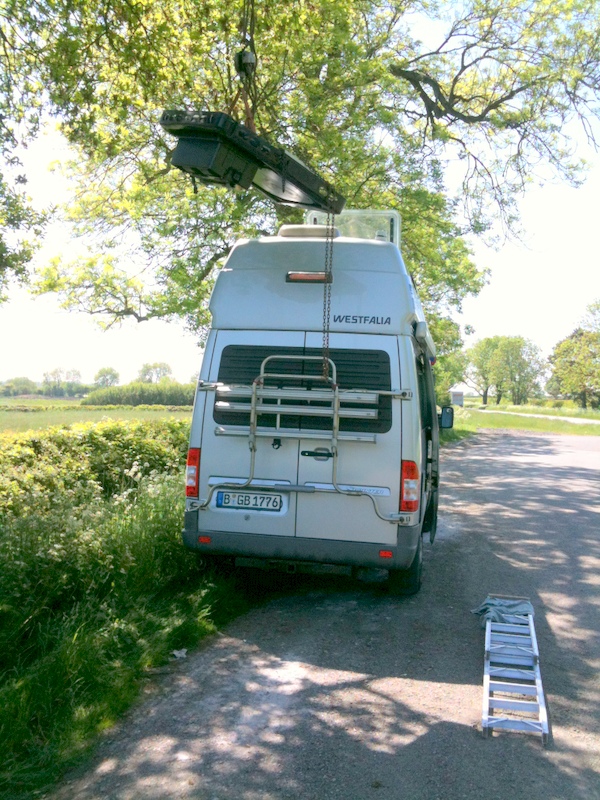
If there’s one thing I dislike about the Sprinter Westy, it’s the Kerstner air conditioner on the roof. The van was never designed for one – the European versions have an extra skylight in its place. And the unit itself is heavy, ugly, and loud.

I always contemplated removing mine, since it didn’t work anyway. But the size of the unit and the height of the van always scared me away. But Ted G. didn’t have any such qualms!

way up there

(more…)

Posted in how-to | Leave a comment

Winterizing the water system

Now that we’re halfway through winter, I finally found the time to go out and winterize the water system in the Westy. Luckily we rarely dip below freezing up here in the Pacific Northwest, so it hasn’t been an issue – in fact, last year I did nothing other than drain my tanks, and didn’t have any problems.

Others on the sprinter_westfalia list claim that filling the system with antifreeze is overkill, and blowing out the lines with compressed air, then filling the traps with antifreeze is sufficient. That may be, but it also sounds more complicated to me! Especially since hauling my air compressor out of the garage is probably a 20 minute job in itself 🙂

This year I figured I’d be a bit more prudent, and went out and bought 10 gallons of RV antifreeze to take care of all of the tanks, lines, and traps.

(more…)

Posted in how-to | 5 Comments

Alternative A/C fan

It seems quite common on our Westies for the fan on the original Kerstner air conditioners to go out. When it does, the replacement has always been expensive – Kerstner replacements are over $700!

In July of this year, a sprinter_westfalia member found a lower-price replacement – in fact, I think the identical fan, for about $250:

http://www.onlinecomponents.com/ebm-papst_a1g280-aa79-11.html?p=12102224

If you’re a member of the group, you can find the info starting in post 10083.

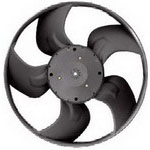
A few months later, in talking with a Westy owner who got in touch through this site, I was told of another replacement that the owner’s mechanic had discovered. He used a $65 radiator fan common on European cars as a direct replacement. It’s even available on Amazon.com!

Hayden Automotive 3670 Rapid-Cool Thin-Line Electric Fan

If we keep up this rate of creative part sourcing, soon we’ll have all of our parts for free!

Posted in how-to | 2 Comments

Turbo resonator replacement instructions

Yesterday I posted up some info about replacement turbo resonators. I promised to find some information about the removal/installation process.

Here are two good resources:

– Riordan’s site has their instruction page available. I’ve copied it over to this site for posterity: Directions for installing the Sprinter turbo resonator eliminator

– A member of sprinter-source.com who goes by the name Sikwan posted some basic instructions, with pictures: Turbo Resonator Removal and Comparison on sprinter-source.com

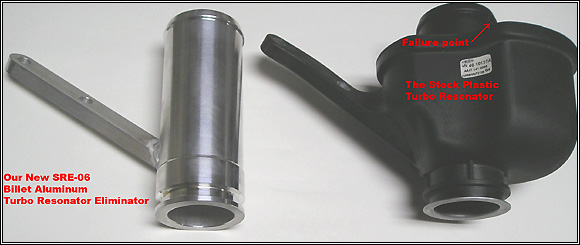
By the way, here’s a picture of the stock turbo resonator on the right, and Riordan’s version on the left:

Posted in how-to | Leave a comment

Broken sway bar bracket

While under the van working on the plumbing, I noticed that the driver’s side sway bar bracket had broken. Thanks to the sprinter_westfalia owner’s group, I quickly learned that:

  • This isn’t uncommon!
  • Our van uses a 3500 series sway bar, but a 2500 series sway bar bracket.

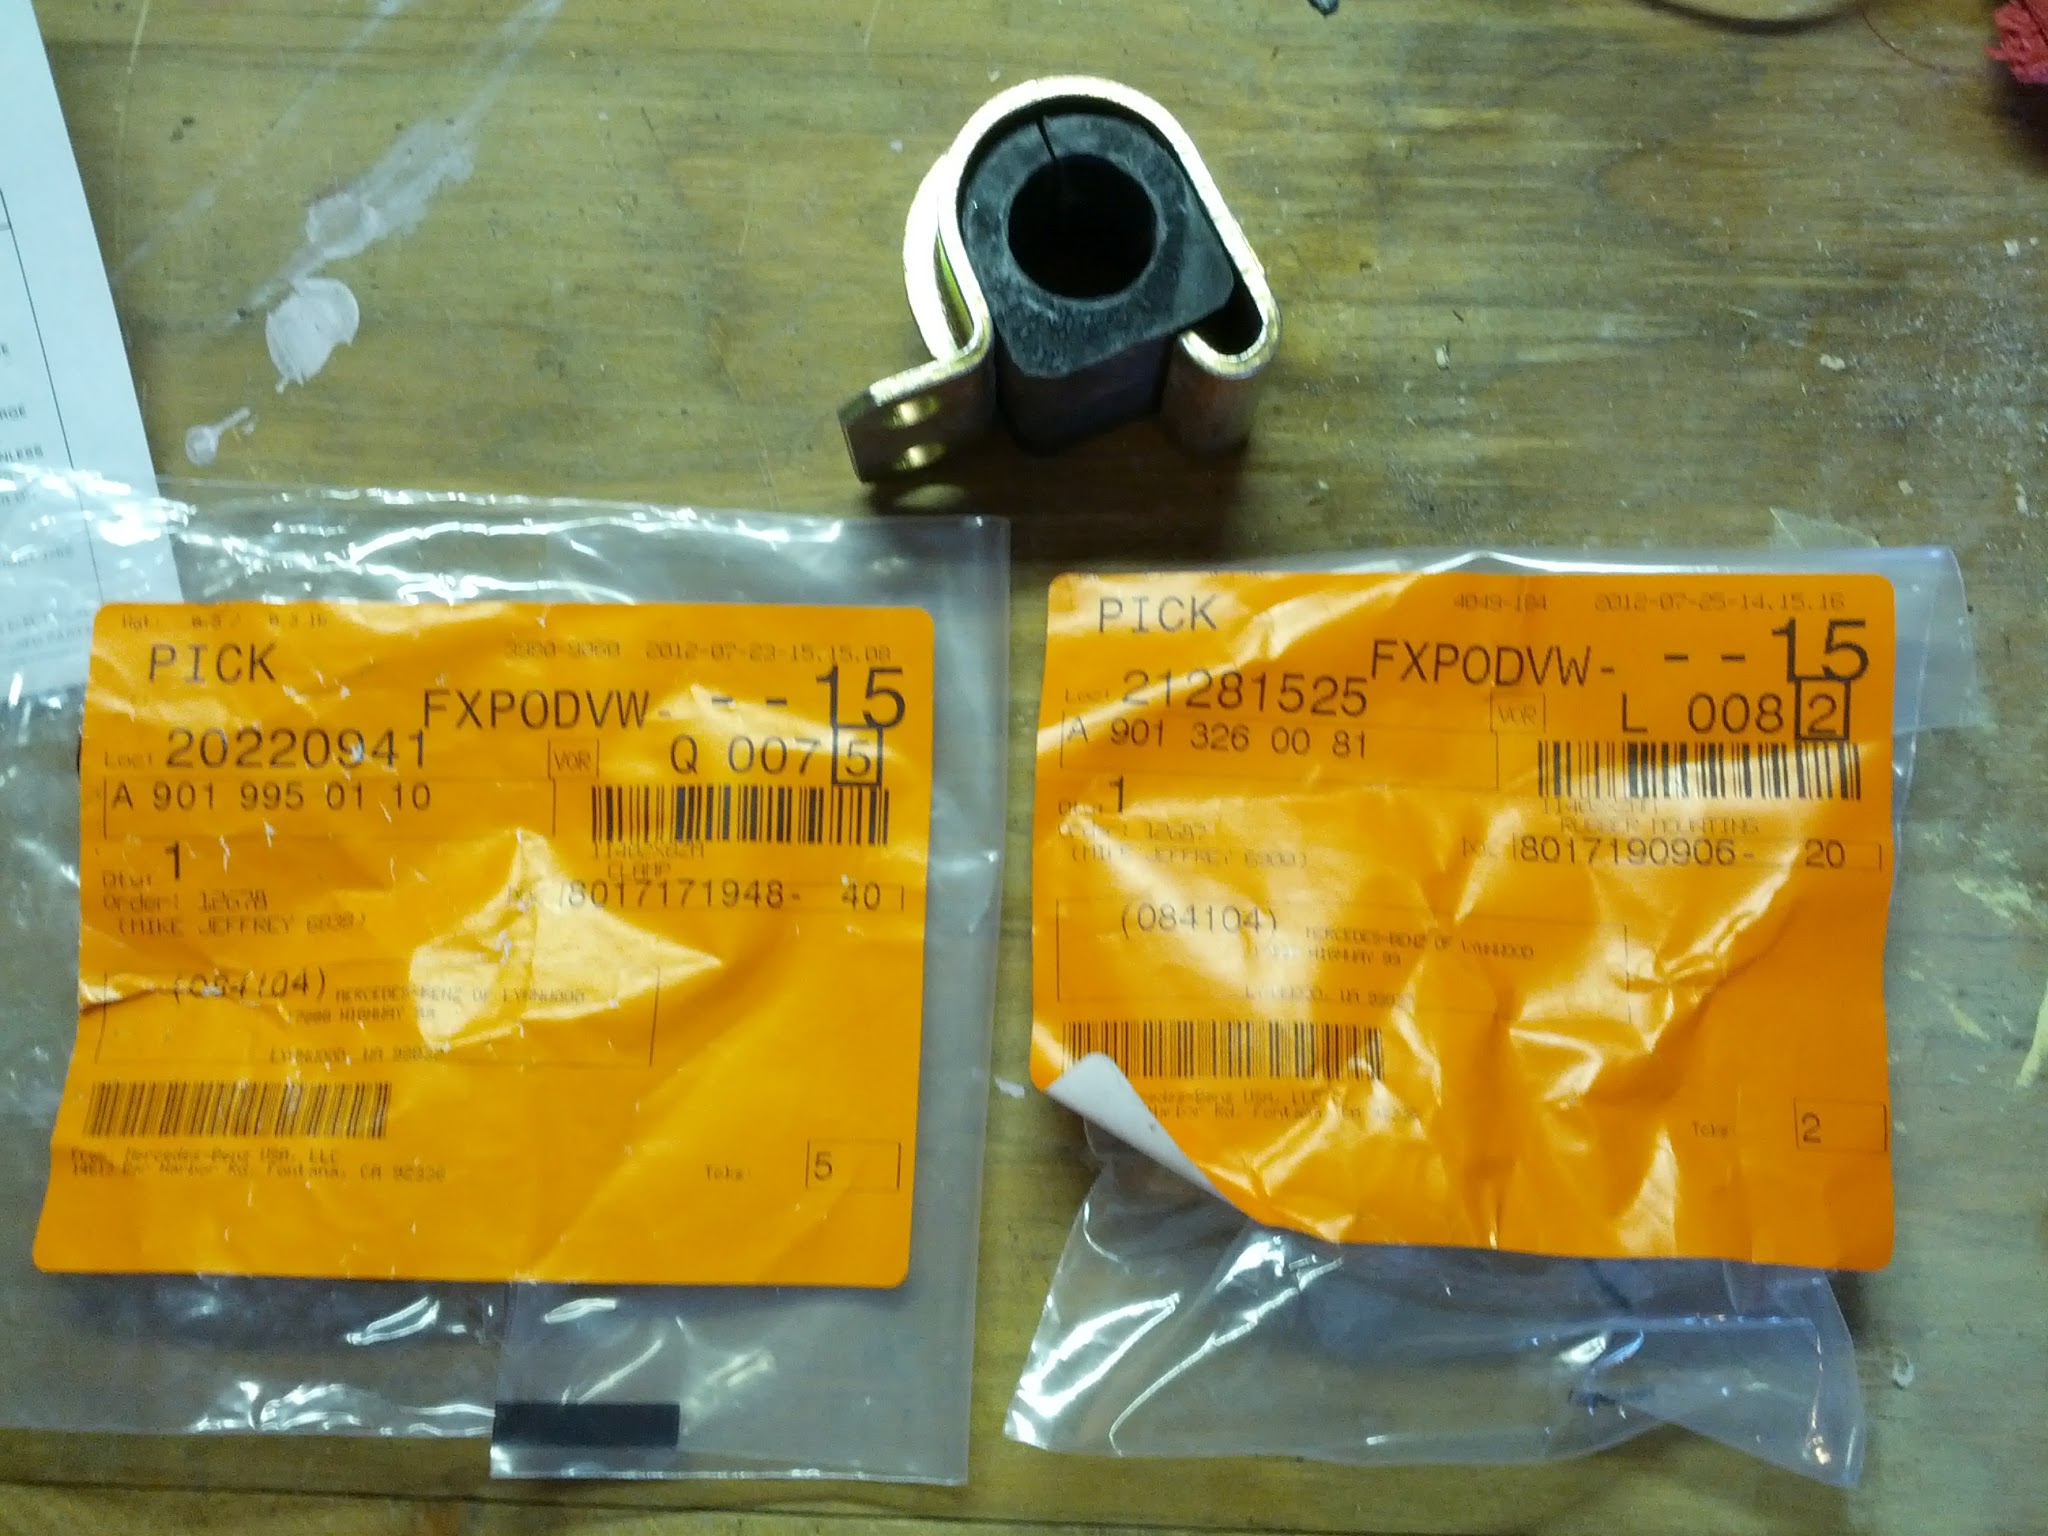
Because of this second point, fixing it is a little trickier. First of all, the parts to order are:

Sway bar bracket: A 901 995 01 10
Bushing: A 901 326 00 81

(more…)

Posted in how-to | 4 Comments

See Level II tank monitor installation details

I posted earlier about my new See Level II digital tank monitor. In the comments, Rob asked for more details about the installation. I bought the display from Dyers RV online for $183 shipped.

Installing the sensors

The sensors are made of flexible plastic with a sticky backing. They come standard at about 11″ tall, and can be cut to size for smaller tanks. For larger tanks, two sensors can be stacked on top of each other.

(more…)

Posted in gadgets / accessories, how-to | Leave a comment

Replacing the water heater anode rod

I’m gradually catching up with all of the required maintenance, and this weekend tackled the anode rod in the water heater. I’d been meaning to do it for a while – I’d never replaced it myself, and had no idea when it was last replaced by the previous owner.

To get the old rod out, you’ll need a 1 1/16″ socket (a wrench won’t fit). I didn’t have that socket but did have a 27mm socket that fit perfectly.

After a few turns of the bolt head, the water in the tank came shooting out in a great burst! I found myself covered with water as well as what I presume to be calcium deposits 🙂 The rest of the water proceeded to drain out of the tank through the anode rod’s hole – perhaps it also drained my fresh water tank at the same time? Once all the water was out I directed a garden hose into the hole to try and flush out all of the gunk I could feel at the bottom of the tank. There was a lot!

A hint for anyone else doing this: park very close to a drain when you do this. The amount of calcium deposits in the tank is amazing!! After hosing it all off of my driveway I’m left with a broad white strip at the bottom of the drive.

The new rod just screws right in. It’s an easy, 5-10 minute job; 2 minutes if you don’t need to rinse your tank.

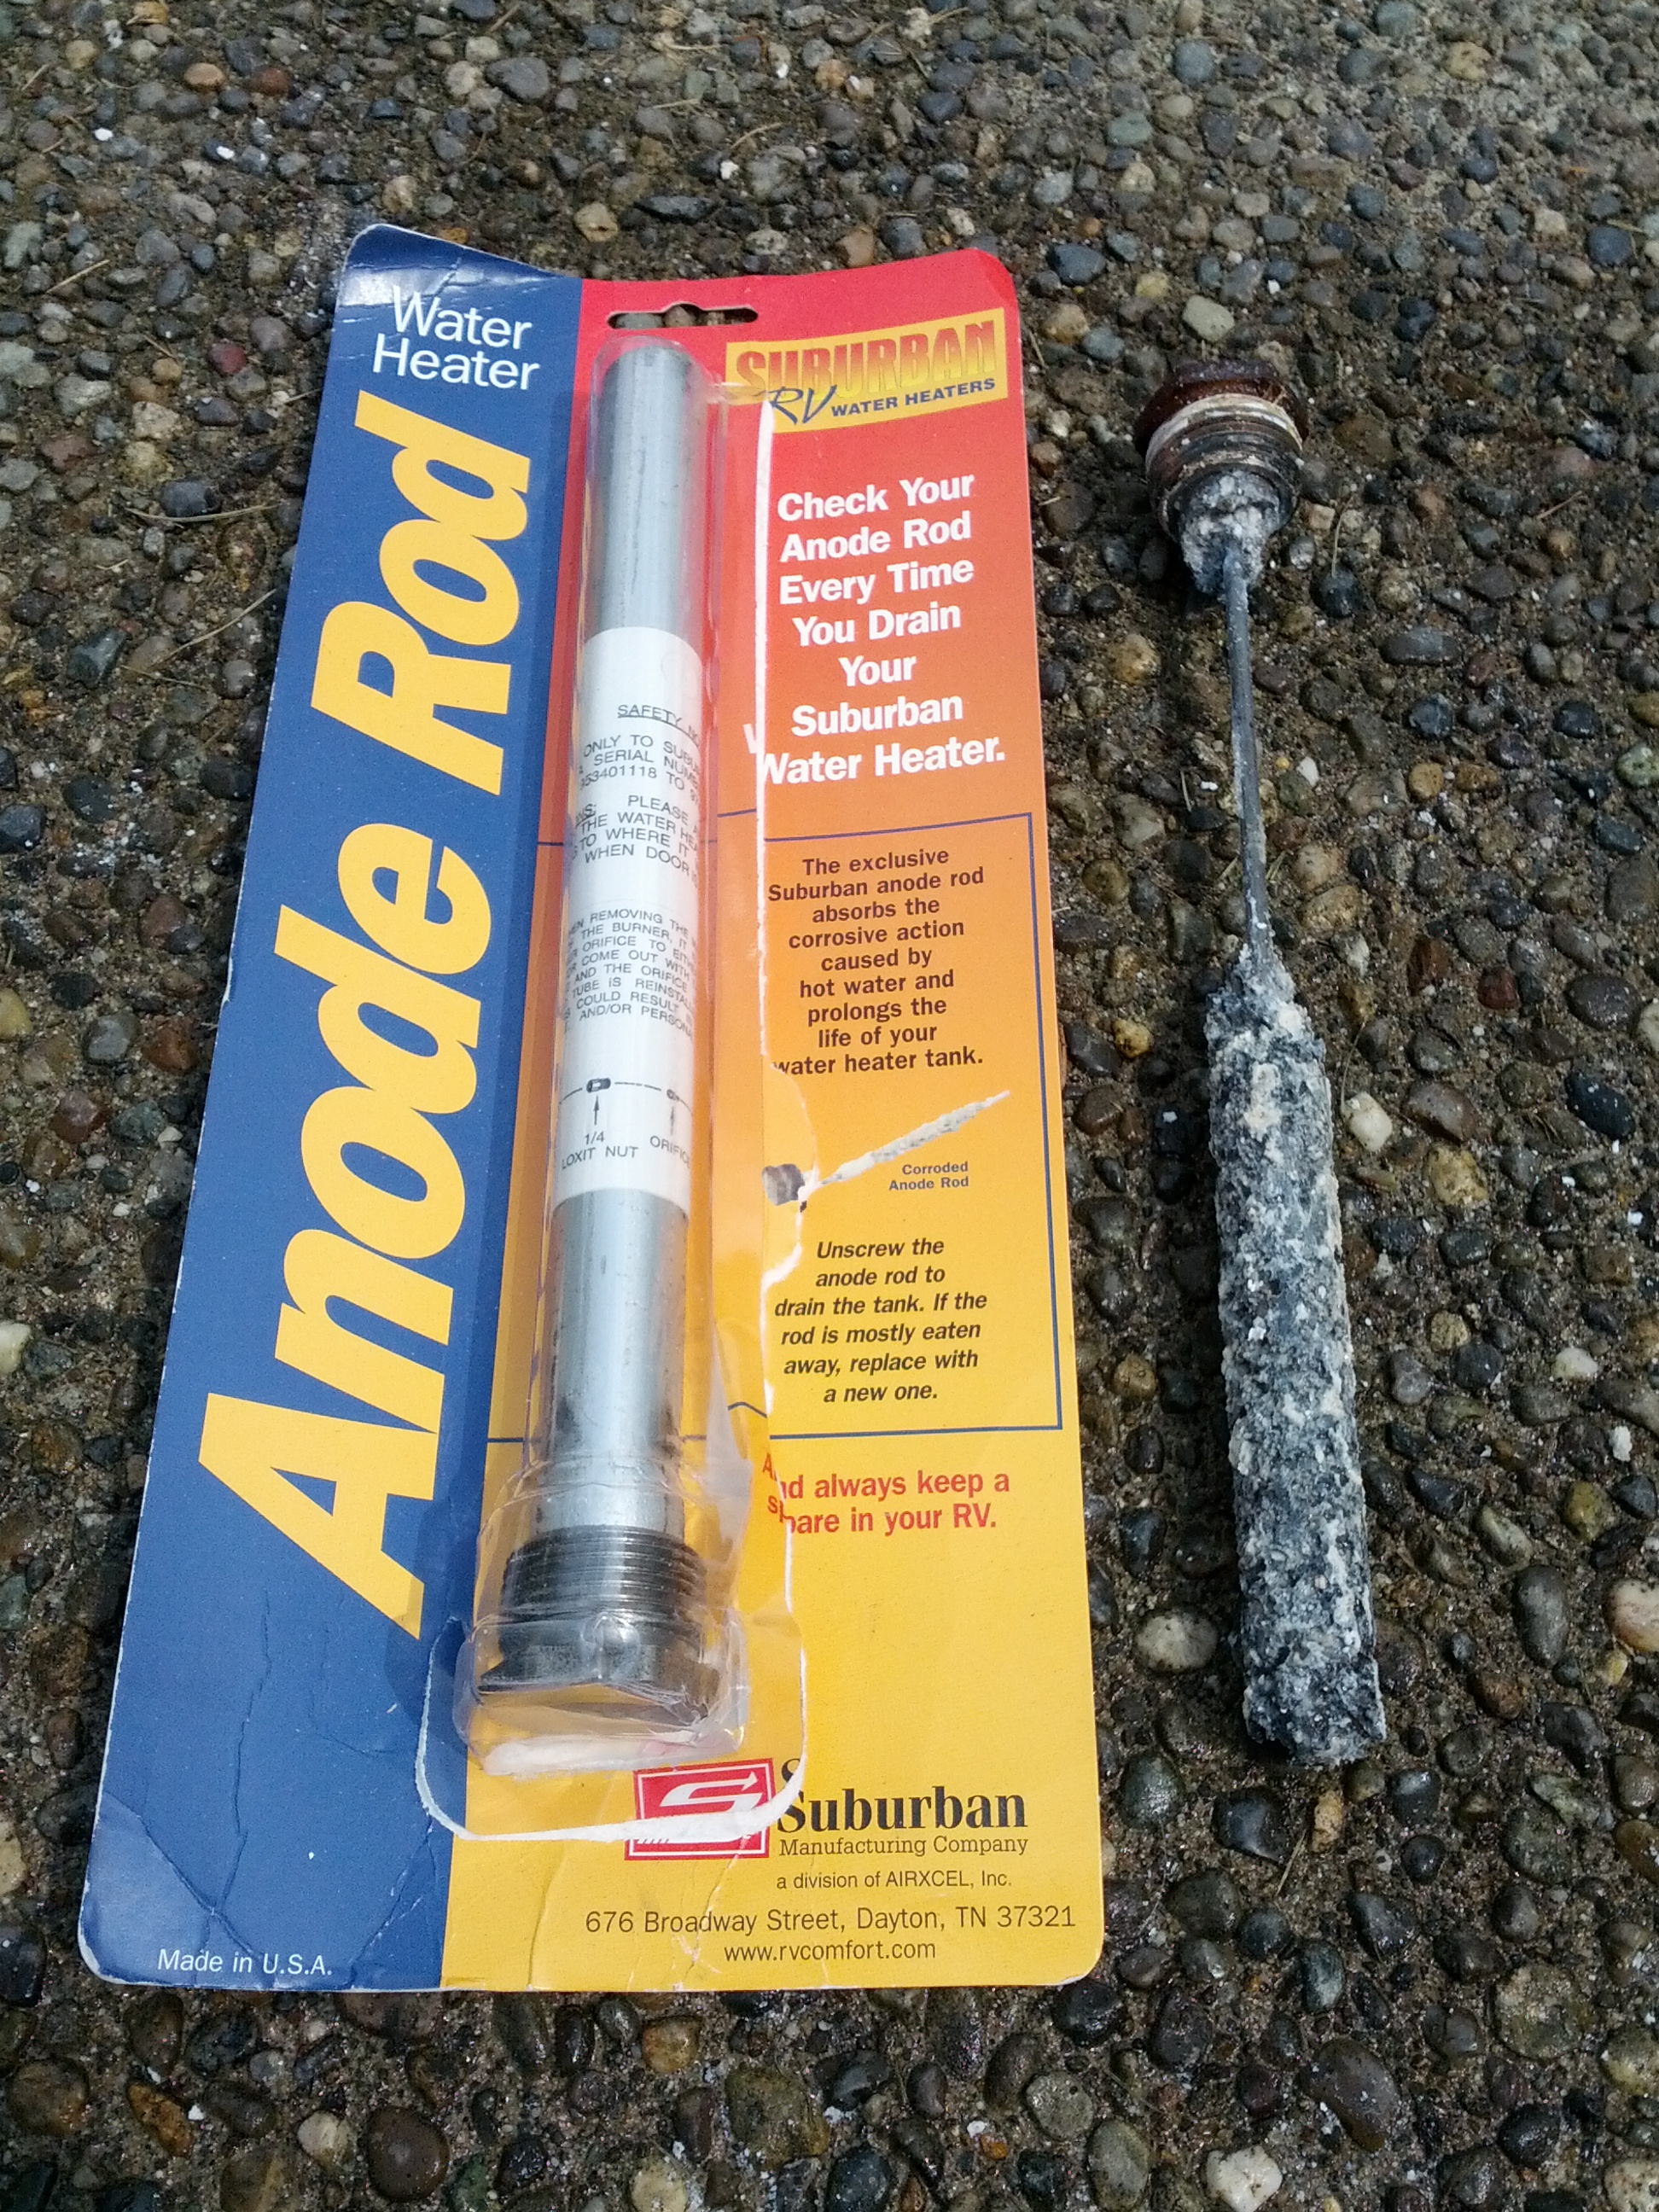
Here’s the rod I bought: Suburban 232768 Aluminum Anode Rod

The rod inside the tank still had a fair amount aluminum left on it. I bought the van a year ago:

Posted in how-to | 2 Comments

Testing continuity across large distances

My heater is giving me problems, and I want to confirm that the wiring between the control panel in the cab and the heater is good. I couldn’t figure out how to do this, because my multimeter’s leads are a few feet long at best. Here’s what a quick Googlin’ turned up:

This is easy to do without the need for extra jumpers if you can isolate both ends of the wire you want to test. You can either do it by voltmeter or testlight, or ohmmeter:

Just clip your testlight or voltmeter to a power source on one end (alternator positive pole is always hot in the engine bay), the other lead to the wire you want to test. If the wire is isolated from ground, you would see no voltage or the testlight will not light up. Then go to the other end of the wire and ground it, your testlight will glow, or your voltmeter show voltage.

Or use the ohmmeter, connect the leads between any grounded point and one end of the wire you want to test, there should be infinite ohms, then ground the opposite end and you will see a circuit. This method is easiest because you don’t need to find a positive power point. Best of all is if your VOM has a continuity buzzer you can put it in ring mode and test this way without the need to see the meter.

Thanks to user tencentlife on thesamba.com (thread is here).

Posted in how-to | Leave a comment

Fitting locations for black water tank

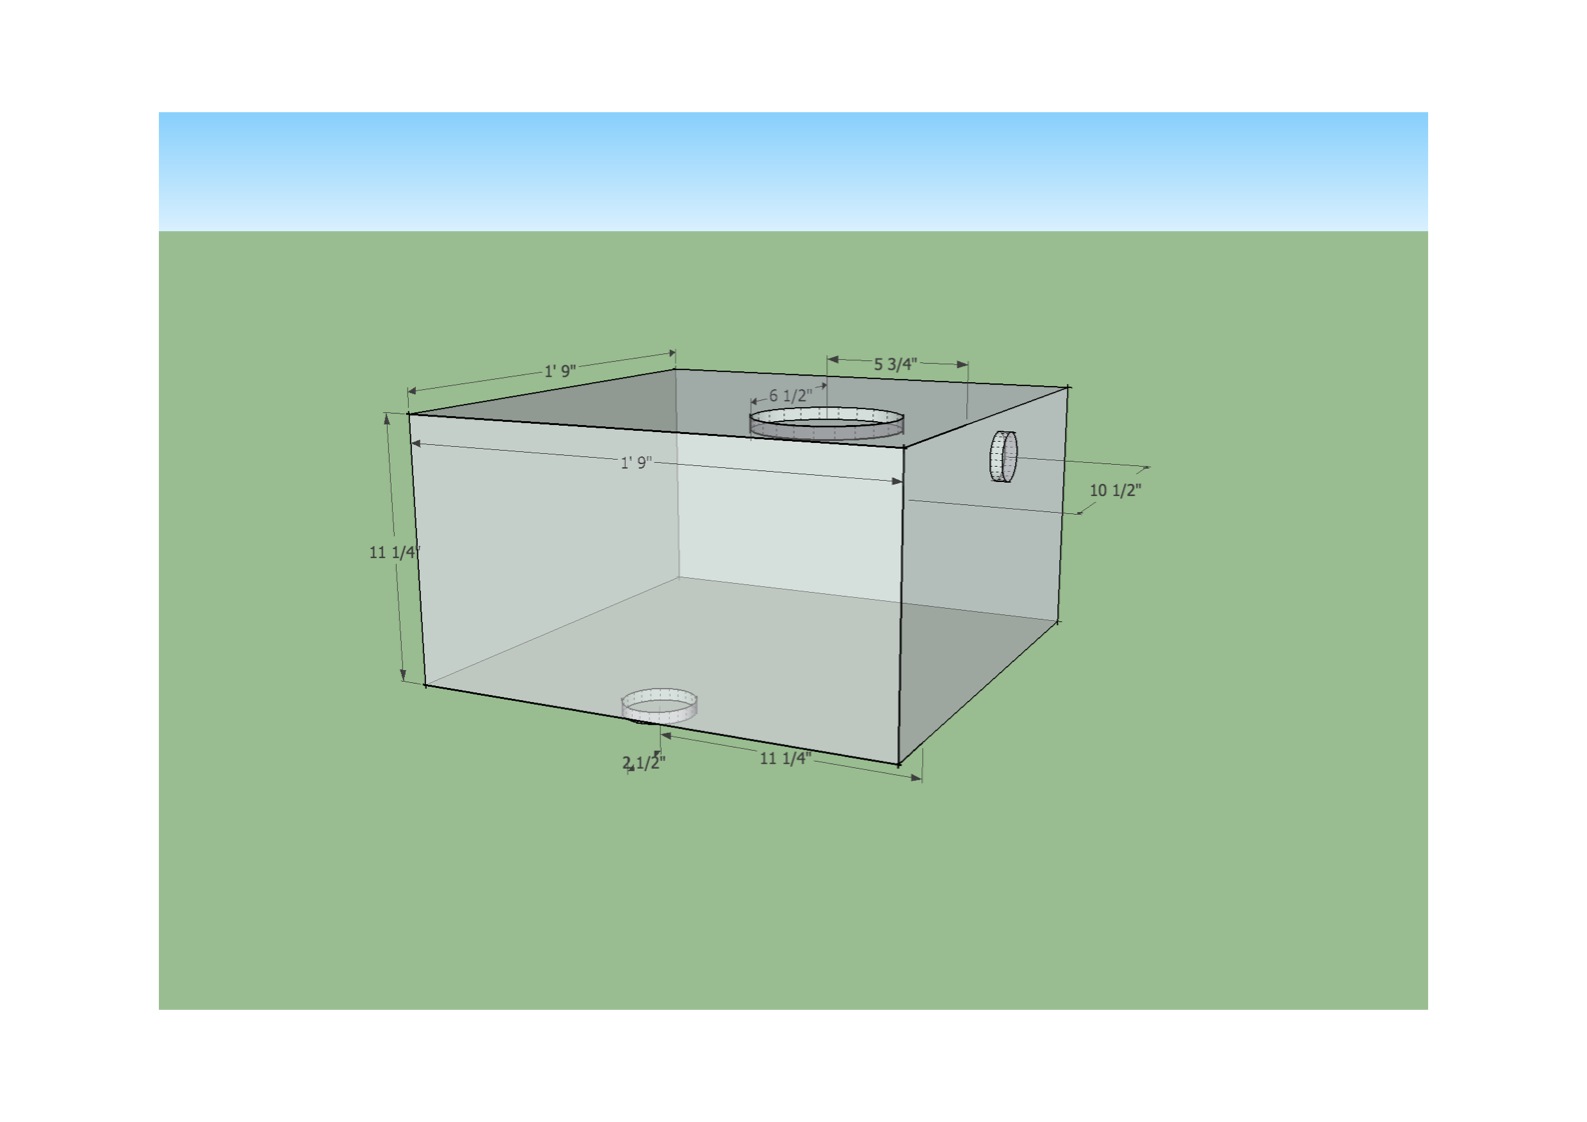
If my measurements are correct, then the following diagram shows the location of all fittings required for a replacement black water tank:

The top and bottom fittings are 3″ pipe thread; the top is a flush mount, and the bottom protrudes so that it’s flush on the inside of the tank. The side fitting is 2″ pipe thread and will be placed as close to the top of the tank as possible (which is why there’s no measurement for that direction on the diagram).

I’ve ordered the tank from Marine Sanitation in Seattle, WA (marinesan.com). The tank should arrive in 2 weeks; you may wish to wait until I’ve confirmed the measurements before ordering your own! I’ll update this post with the results.

Posted in how-to, photos | Leave a comment